Bathroom Renovation
https://youtube.com/shorts/NrwDBUF0rJY?si=b4ESKPk_ffPnNKZY
https://youtube.com/shorts/FU1AySOpXmg?si=7vVHxlmSe2ZpOKON
Original tile – 22 years old and basic 5′ x 3′ tub. The walls were warped, the faucet was ancient, and the whole bathroom just needed a good gut! The plan is to take out bath and do a floor to ceiling shower with glass doors
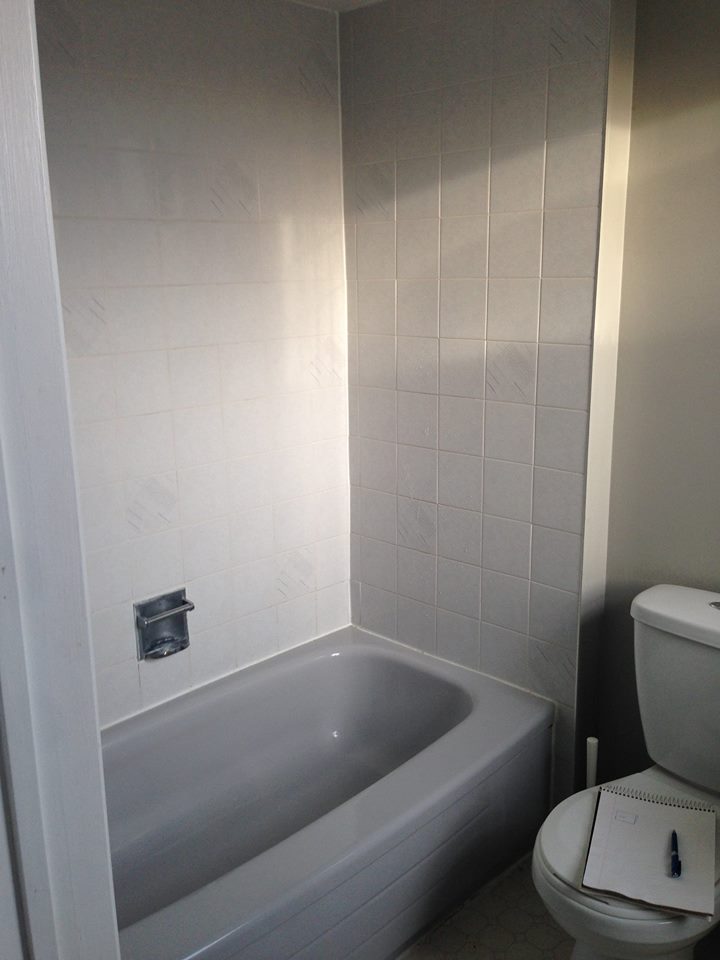

I started off by removing all the tiles. I used a hammer and of course wore protection on my eyes as chards will fly. Also wear gloves when doing any type of demolition.
 Over the years, water dripping down the side of the tub caused mould in the drywall. So I decidedto remove all the drywall from the edge of the door frame to the shower.

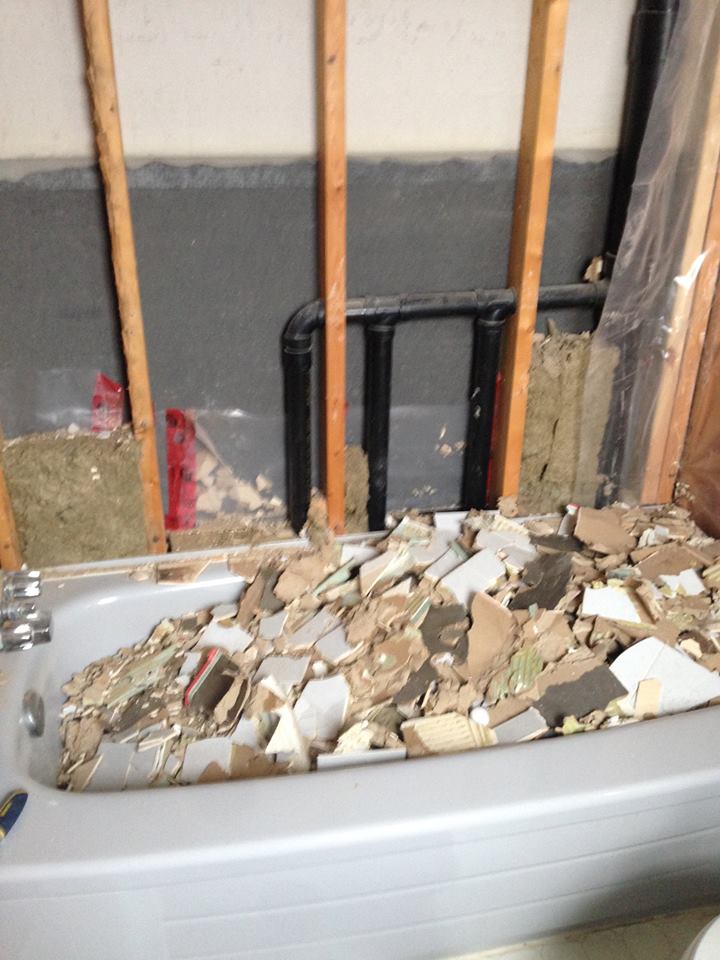 I took out all the drywall too as I’ll be replacing with cement board or DensShield (both mould resistant)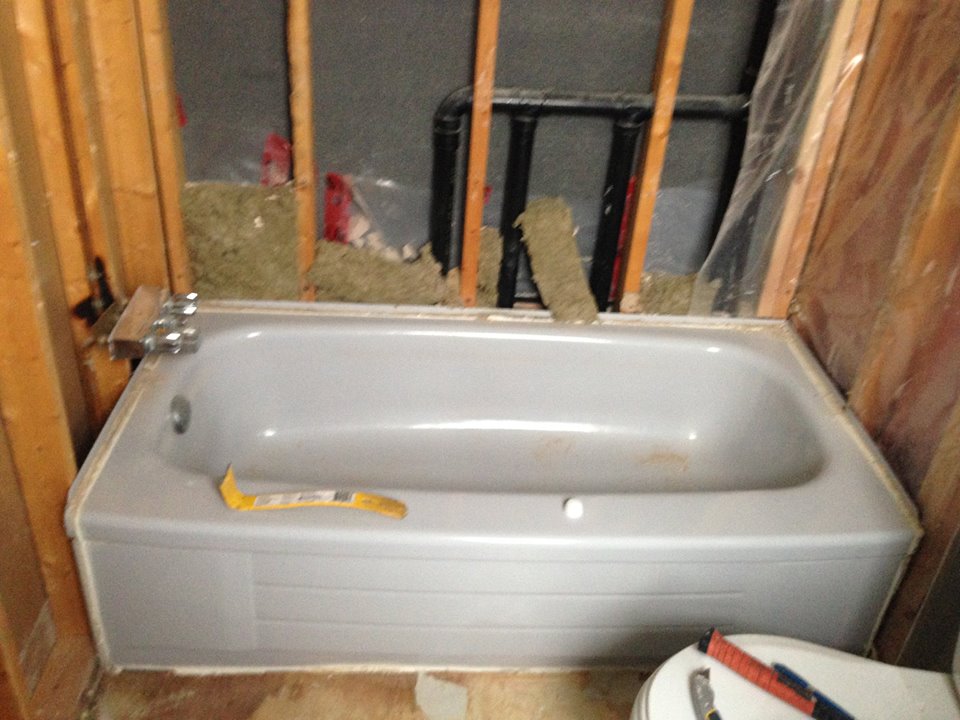
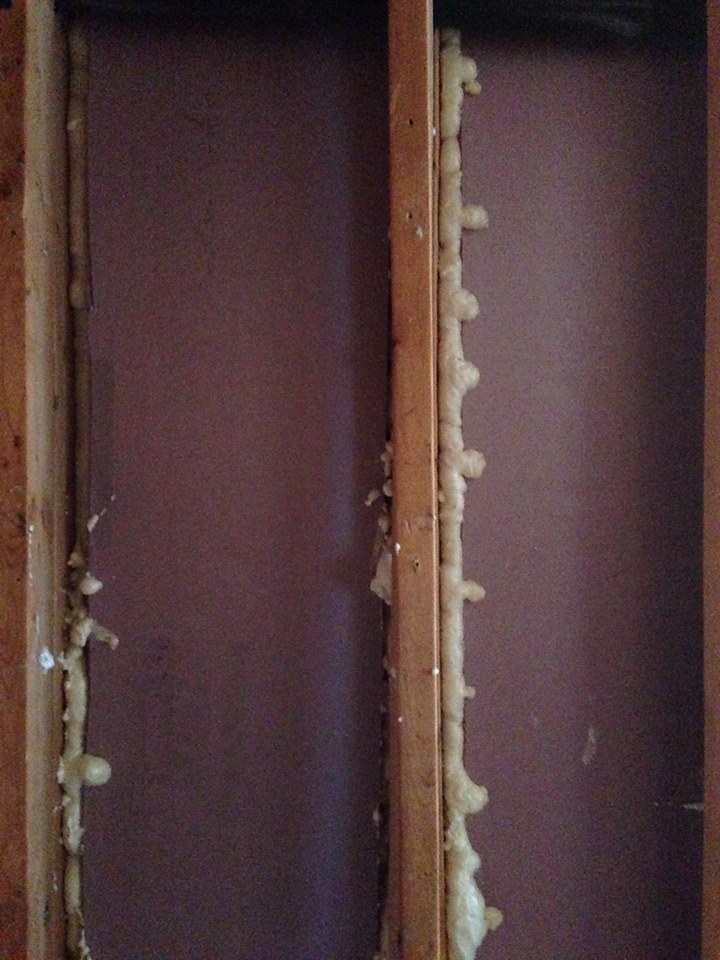
 Here is the crazy part…This house was build 22 years ago. When I opened the wall, there was an 8″ space and virtually no insulation…only one sheet of fibreglass and it didnt even fill the space. No wonder it was always so cold in this room! I purchased insulation board – 2″ thick and put in 2 layers of foam. Then, in the spaces around I filled them with spray foam. I can tell you one thing, there are no drafts anymore!
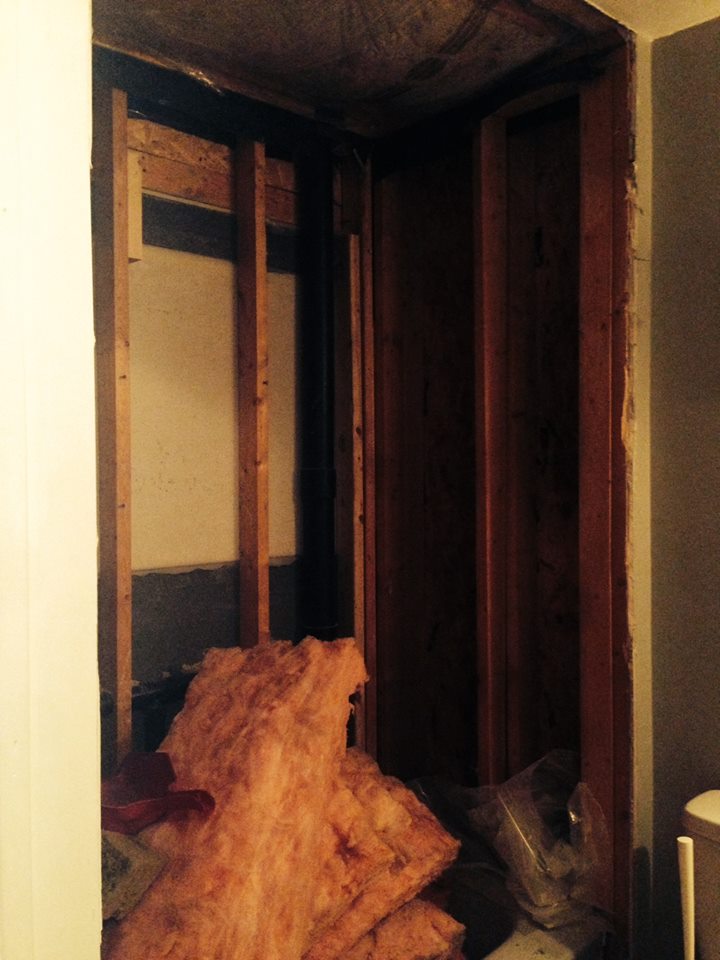
 I had this bulk head over the bath tub. As this is such a tiny bathroom, I decided to see what was inside it to determine if I could rip it out. All I found was a ton of cellulose that we had sprayed into the attic a couple years ago..(about 12″) I consulted with a fellow DIYer on this and was told to leave it because it would be a big pain….but I wanted a higher ceiling….and I can be stubborn
So, I ripped it down. Here is the one piece of fibreglass that had been sitting in the bulk head. Had we not sprayed all that cellulose in the attic, there would have been virtually nothing blocking all the cold air from coming through the ceiling. Here is where it gets tricky…I had to take a sheet of plastic and weave it over the boards ensuring i held up all the cellulose. This stuff is nasty to clean up and ultimately I still ended up with a cellulose clean -up. Check out the height I got back in the room! It definitely feels bigger now!
Now that I had finsihed insulating the outside wall, I decided to throw some insulation up between this bathroom wall and the other bathroom wall. It wasnt to insulate..more to limit noise a tad as the bathrooms back each other…completely not necessary but I thought I may as well with the wall already open. 
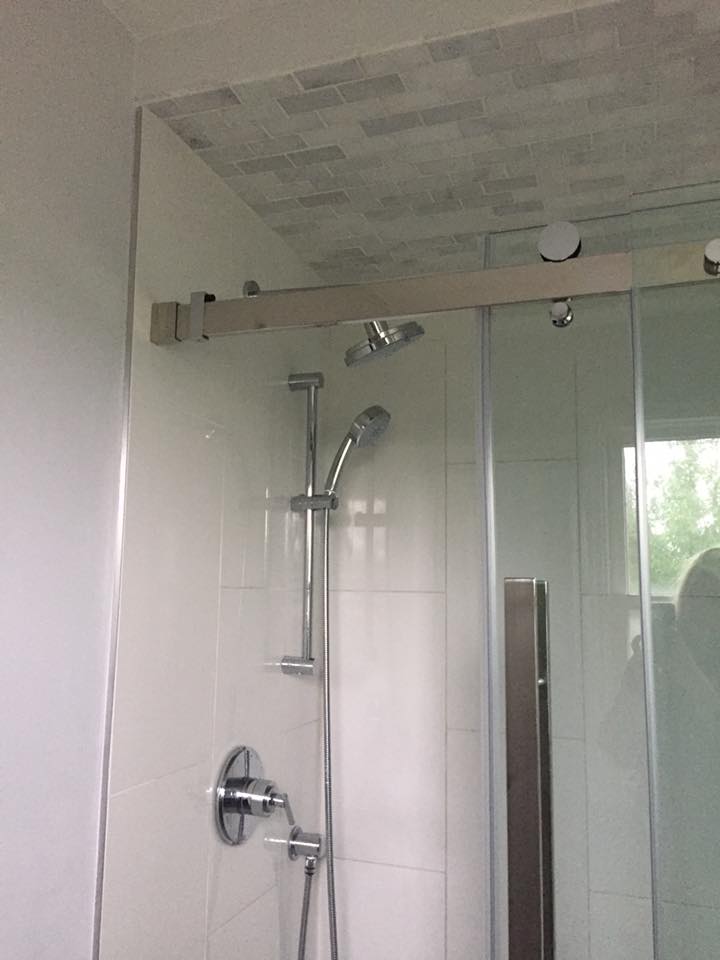
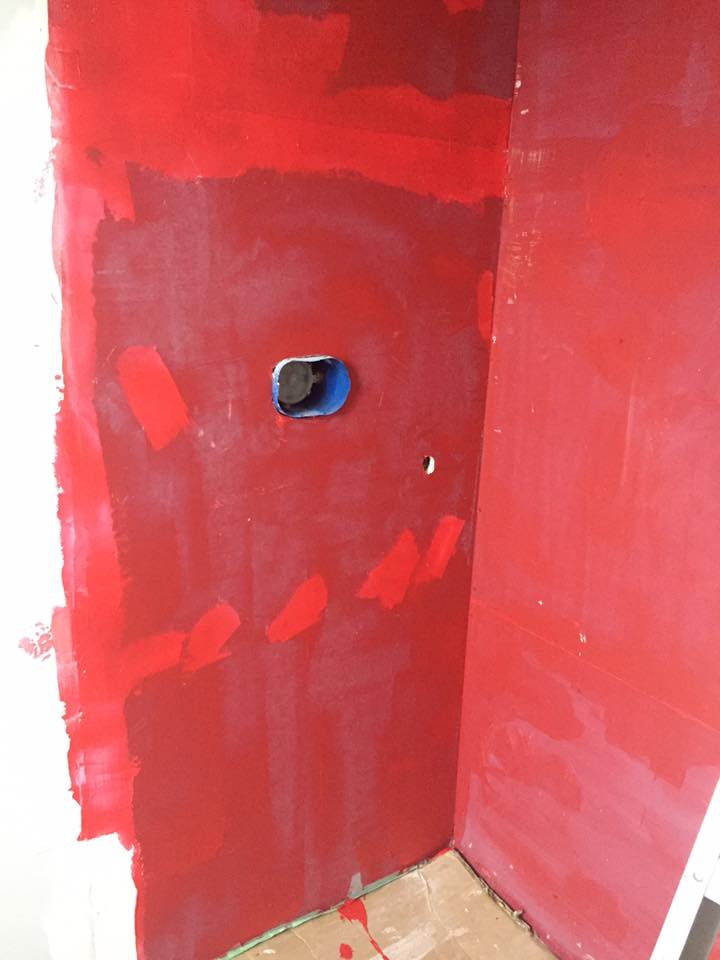
After hanging the DensShield, I painted the entire surface with Redguard and installed the plumbing fixtures. I decided since this was such a small bathroom that I would have to make it feel luxurious. So, I used a marble on the ceiling in a brick pattern. This is not an easy feat…it requires much patience but in my opinion, accomplishes exactly what I wanted it to


The next step was to start adding the tiles. I decided to lay the 12×24 tiles in a verticle pattern as this can trick the eye into thinking the ceiling is higher.


Tiles Finished!


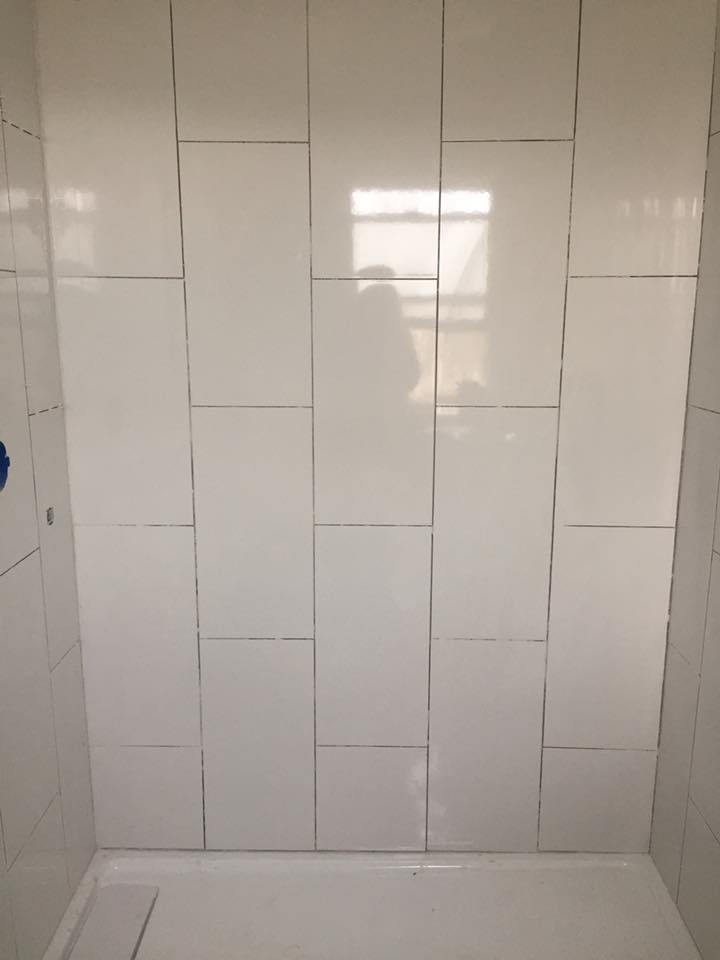
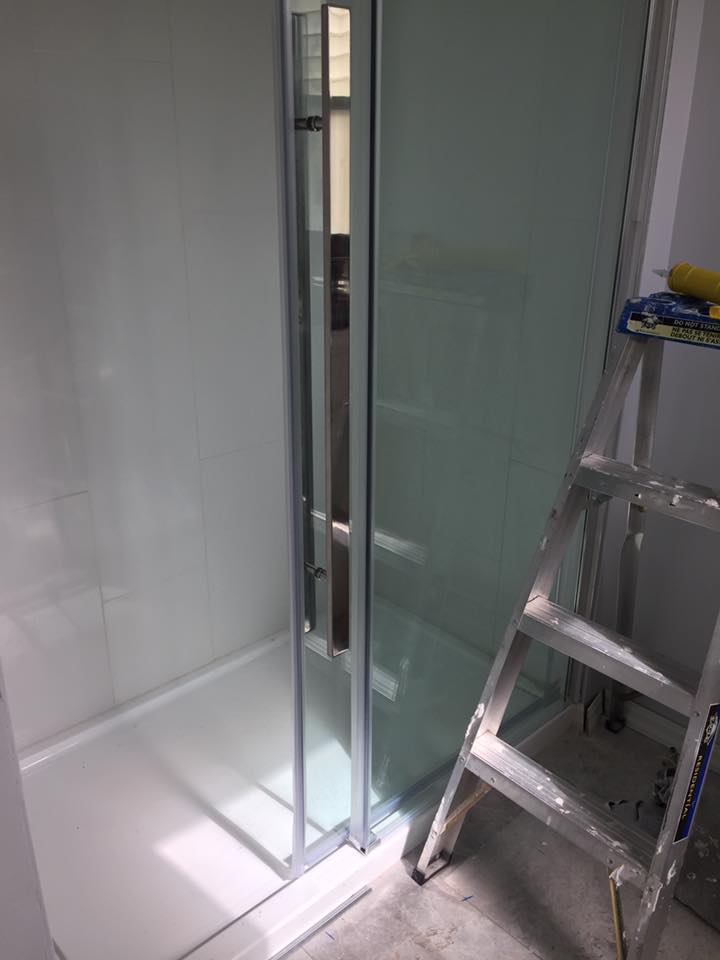
I then grouted the tiles and added the sliding glass door to the base


I finished up by adding the toilet to the bathroom and finishing up the plumbing. I also sealed the tile and waited a couple days before using