Skip to content
  • About Kate
  • Before/after- Renos
    • Bathroom Renovation
    • Home Gym
    • Powder Room Renovation
    • Stairs Renovation
  • DIY Furniture
    • Aged wood coffee tables
    • Coffee Table
    • Guest bedroom headboard
    • King Sized Wood Headboard
    • Kitchen Cabinet doors
    • Side Tables
  • DIY Projects
    • Art
      • 3 Piece Abstract – Bedroom
      • Abstract Art
      • Northern Lights Wall Art
      • Peacock Spray Wall Art
    • Classy Study wall
    • DIY Outdoor Firepit
    • Fun closet floor
    • Insulating around windows and doors
    • Refurbished light
    • Roofing
  • DIY Videos
    • DIY – Repairing a Rotten Porch Post
    • How to Change your Tires – DIY
    • How to repair Drywall
    • Oil Change – BMW 328i
    • Whitewash your brick Fireplace!
  • Floral
    • Cottage Wedding flowers
    • Farm Wedding
    • General Bouquets
    • Oma’s Casket Spray
    • Outdoor Wedding
    • Tip: Bring a wilting Hydrangea back to Life!
  • Sweets
    • Baby Shower Cakes
    • Birthday Cakes
      • Banjo Cake
      • Barbie Cake
      • Champagne Cake – Gluten Free
      • Guitar Cake
      • Heart/Crossbone Cake
      • Hockey Cake
      • Kaden’s Batman Cake
      • Smash Cake & Cupcakes
    • Gingerbread houses
      • Japanese Dojo
      • Winter wonderland
  • About Kate
  • Before/after- Renos
    • Bathroom Renovation
    • Home Gym
    • Powder Room Renovation
    • Stairs Renovation
  • DIY Furniture
    • Aged wood coffee tables
    • Coffee Table
    • Guest bedroom headboard
    • King Sized Wood Headboard
    • Kitchen Cabinet doors
    • Side Tables
  • DIY Projects
    • Art
      • 3 Piece Abstract – Bedroom
      • Abstract Art
      • Northern Lights Wall Art
      • Peacock Spray Wall Art
    • Classy Study wall
    • DIY Outdoor Firepit
    • Fun closet floor
    • Insulating around windows and doors
    • Refurbished light
    • Roofing
  • DIY Videos
    • DIY – Repairing a Rotten Porch Post
    • How to Change your Tires – DIY
    • How to repair Drywall
    • Oil Change – BMW 328i
    • Whitewash your brick Fireplace!
  • Floral
    • Cottage Wedding flowers
    • Farm Wedding
    • General Bouquets
    • Oma’s Casket Spray
    • Outdoor Wedding
    • Tip: Bring a wilting Hydrangea back to Life!
  • Sweets
    • Baby Shower Cakes
    • Birthday Cakes
      • Banjo Cake
      • Barbie Cake
      • Champagne Cake – Gluten Free
      • Guitar Cake
      • Heart/Crossbone Cake
      • Hockey Cake
      • Kaden’s Batman Cake
      • Smash Cake & Cupcakes
    • Gingerbread houses
      • Japanese Dojo
      • Winter wonderland
KDA Designs

Stairs Renovation

My stairs had a lot of potential. There was an existing chair rail going all the way up the stairs with a patterned 3D wallpaper on the bottom half of the wall. One day, I got a little crazy and decided to rip it off.  I found a lovely hunter green behind the wallpaper from the previous owners. My thought was that with the height of the stairwell, it would look amazing with wainscotting all the way up!

398250_10151149745046655_1546959699_n 66378_10151149744711655_2052712933_n 65317_10151149745396655_1083810004_n

I sanded down that hunter green and primed it before adding my wainscotting. I wish I had video of me making these cuts. It was literally a full weekend of cutting trim, adjusting, then nailing to the wall…lots of trial and error. :)

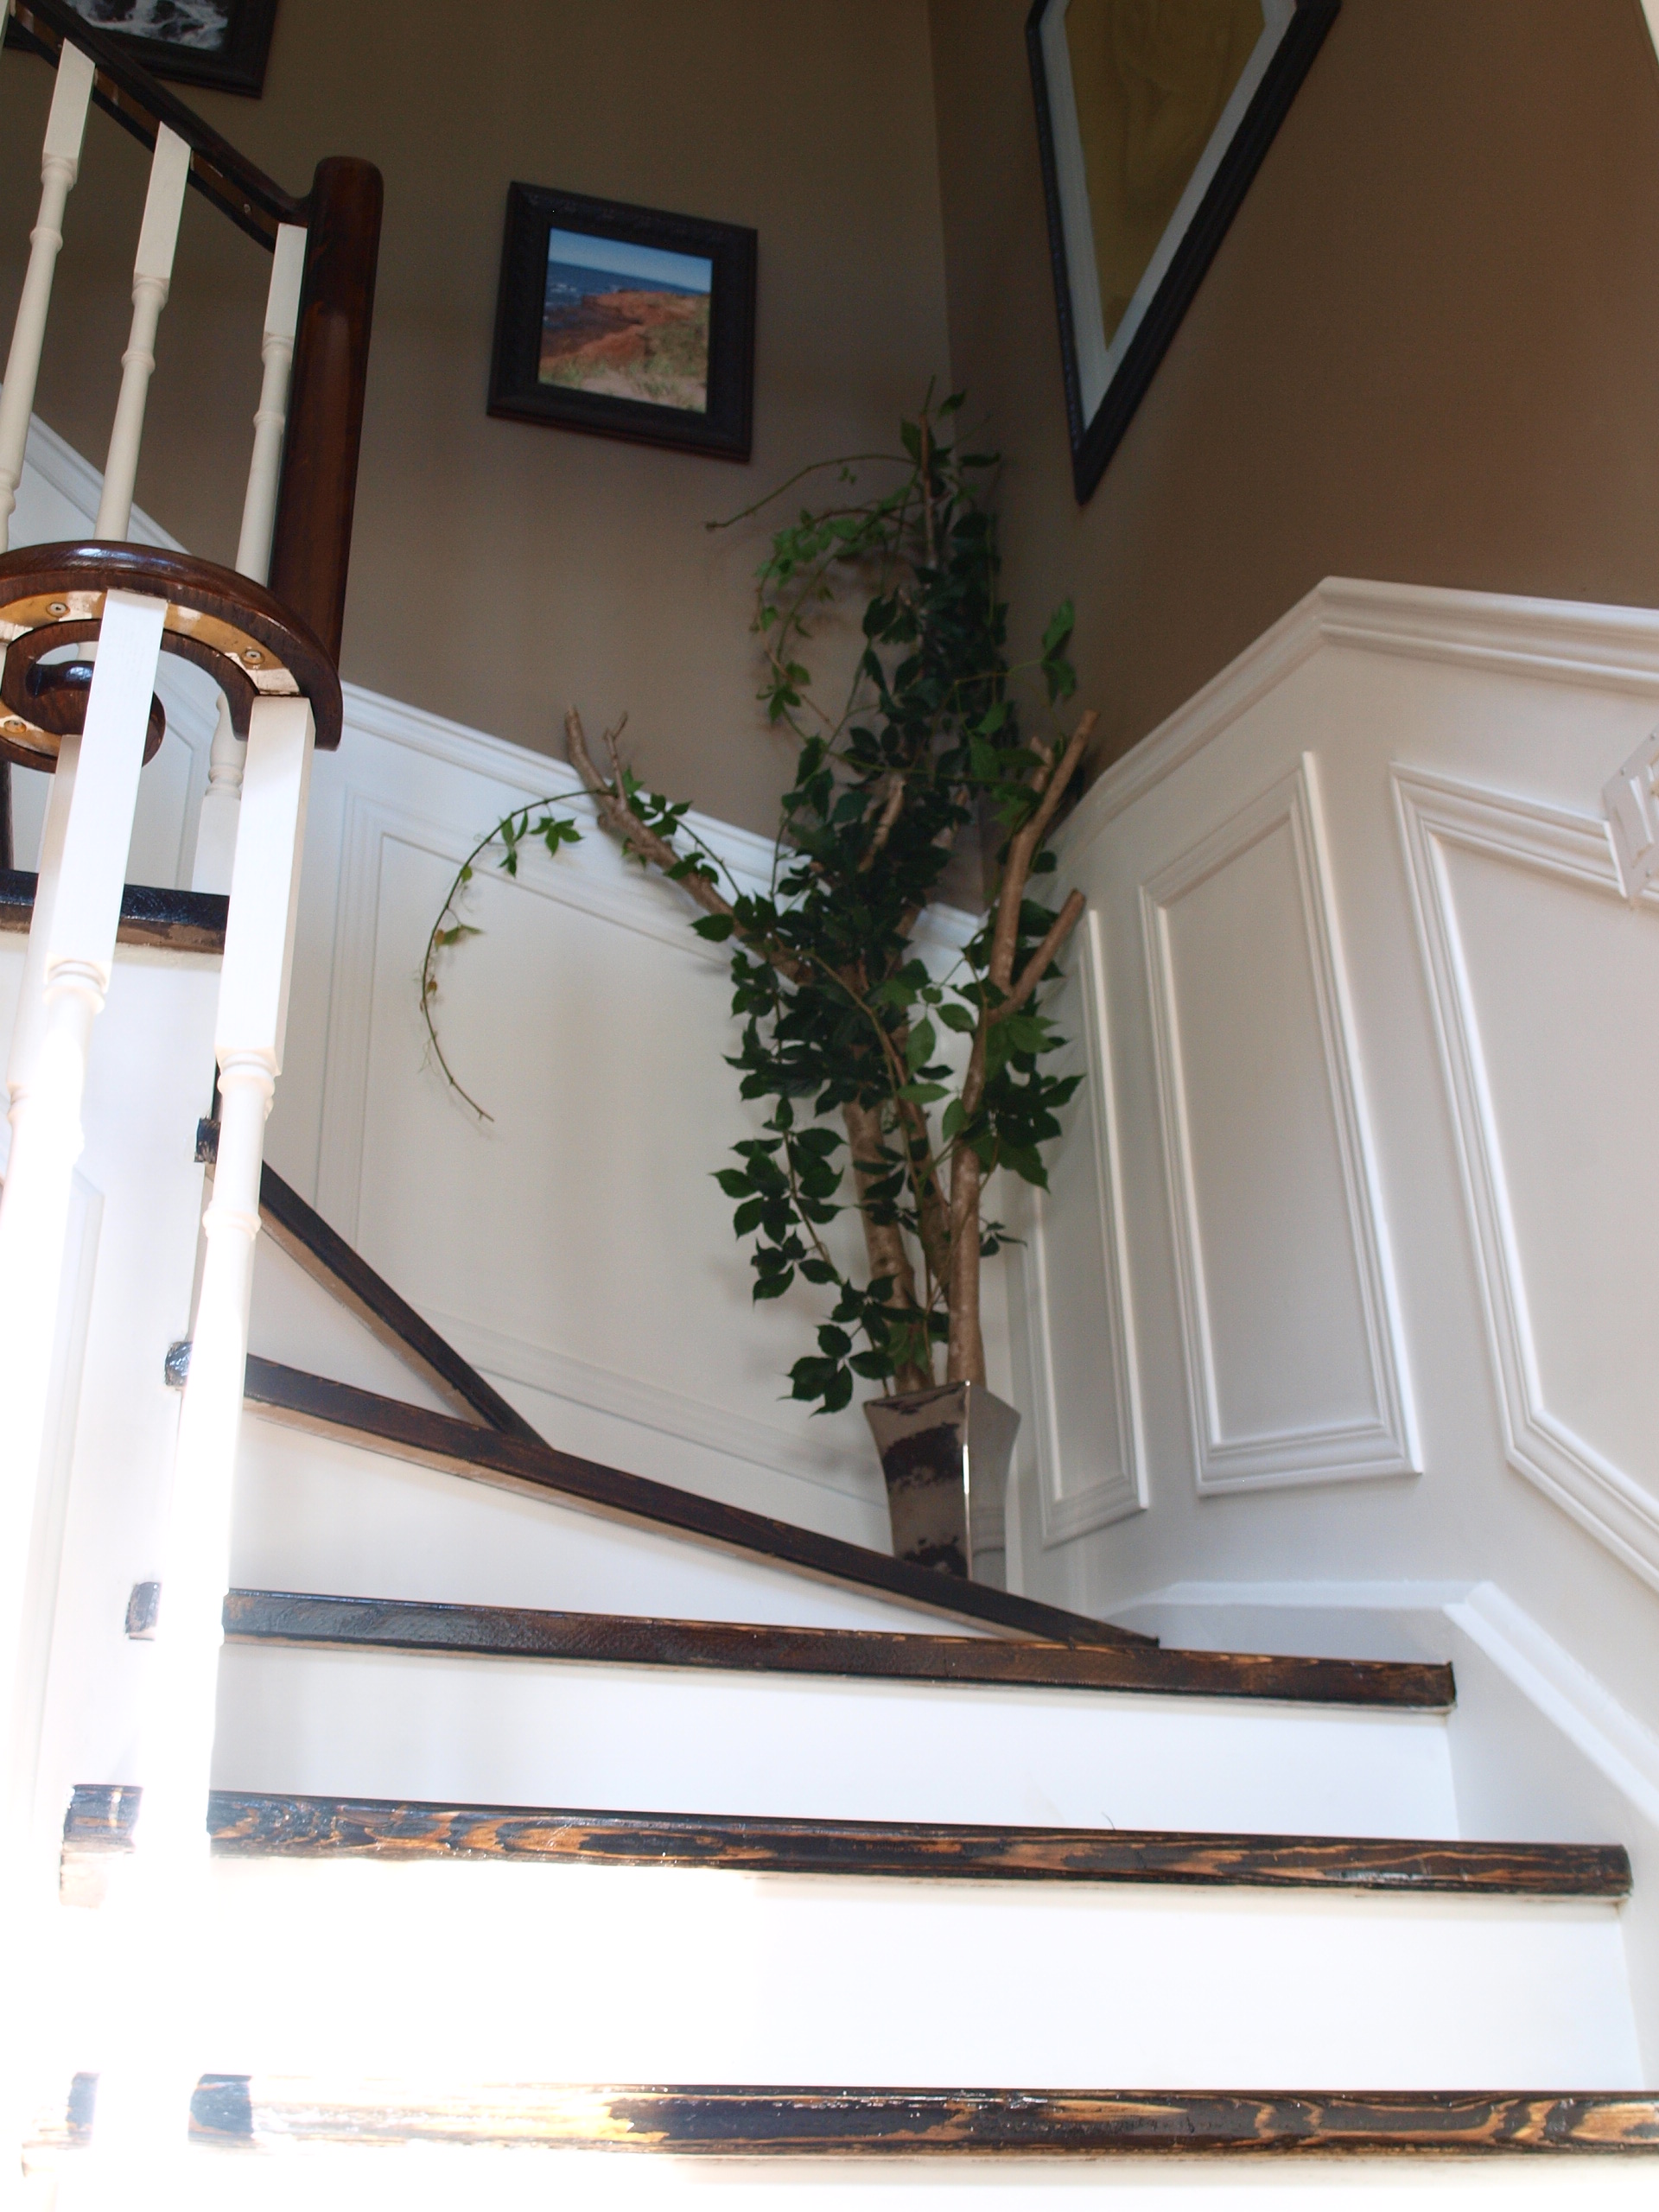
11102604_870276966368117_1376186283596388652_nOnce I was satisfied, I used wood filler to fill any spaces in the corners of the wainscotting. I then allowed it to dry, sanded it down, and followed up with a semi – gloss white. I absolutely love it!

545547_10151149747211655_1555499259_n 404096_10151149746406655_1870265686_n

579097_10151149747561655_2057603594_n Innisfil-20120922-00003

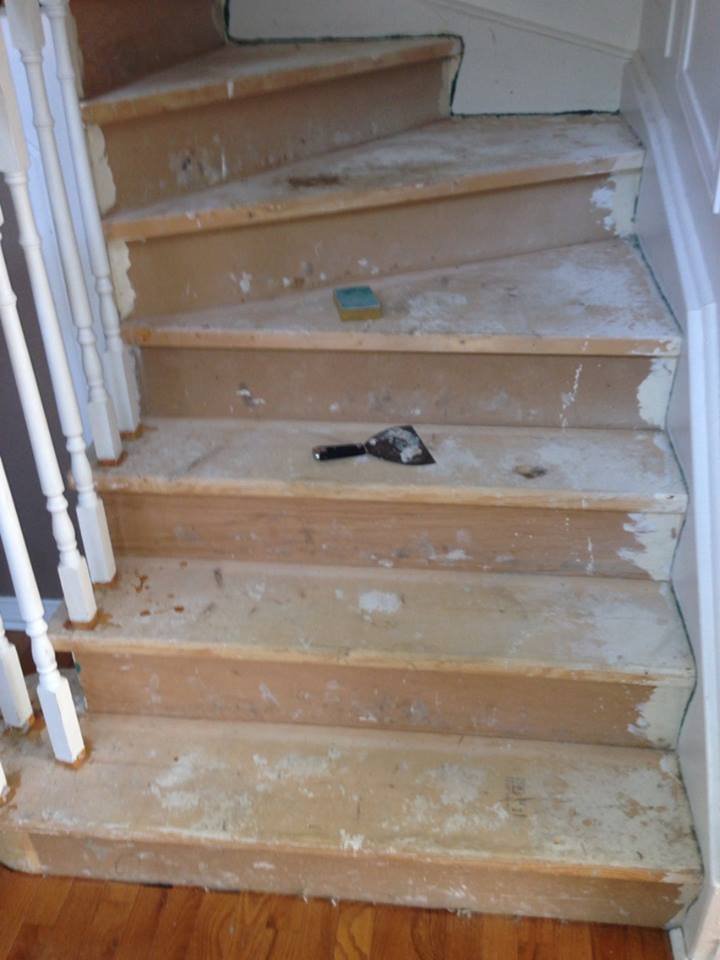
The next step to finishing my stairs was refinishing my stairs. I was lucky as I did not need to replace the stairs. I removed all the carpet and was faced with a massive project. There were paint splatters, dents, grooves, and lots of dirt on the steps.
stairs step 1

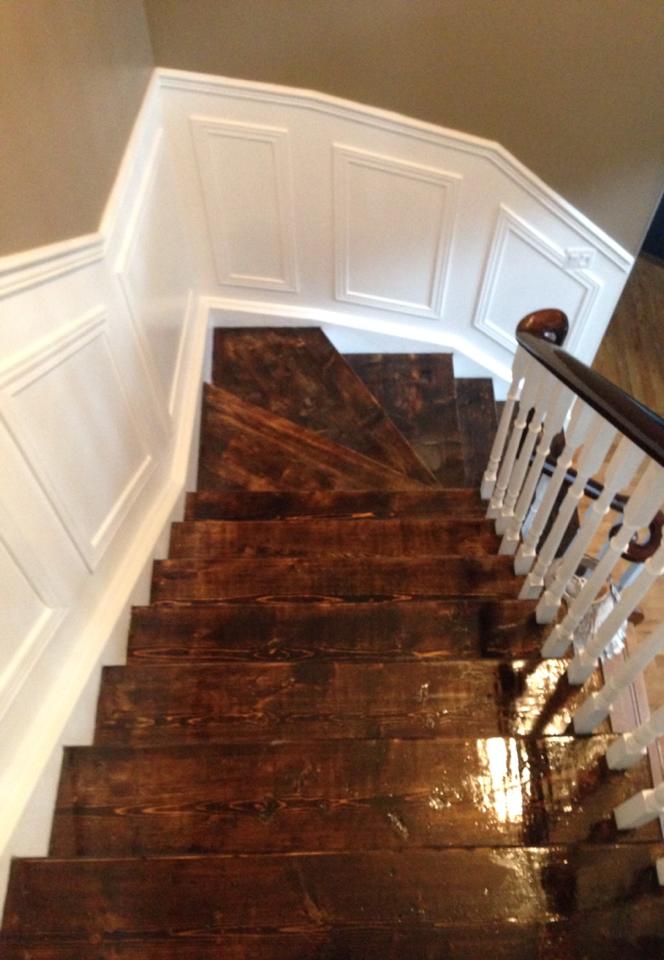
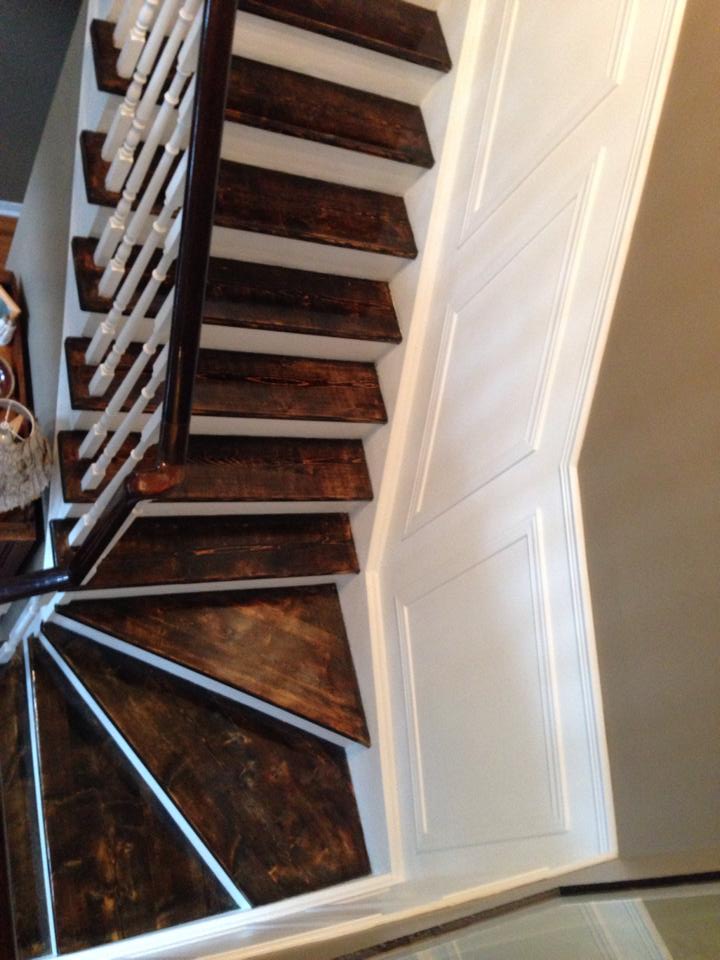
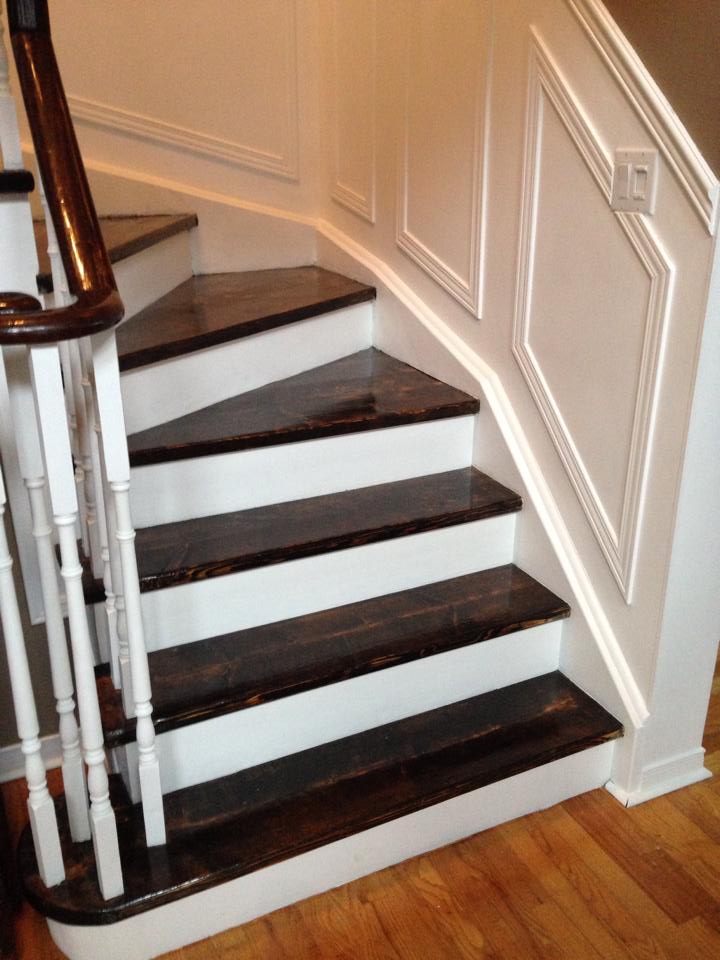
I scraped, sanded, washed, allowed to dry, then sanded over and over again. Once I was comfortable with the wood, I stained it using my favourite stain,  ‘Minwax  – Dark Walnut’ and allowed it to dry overnight. Those grooves that were exposed actually gave the wood some character. When I was satisfied with the stain, I did about 5 layers of varnish on each step. The process was; varnish, overnight dry, sand. Repeat this 5 times. All in all, this was not a quick project but boy, did it every change my stairwell.

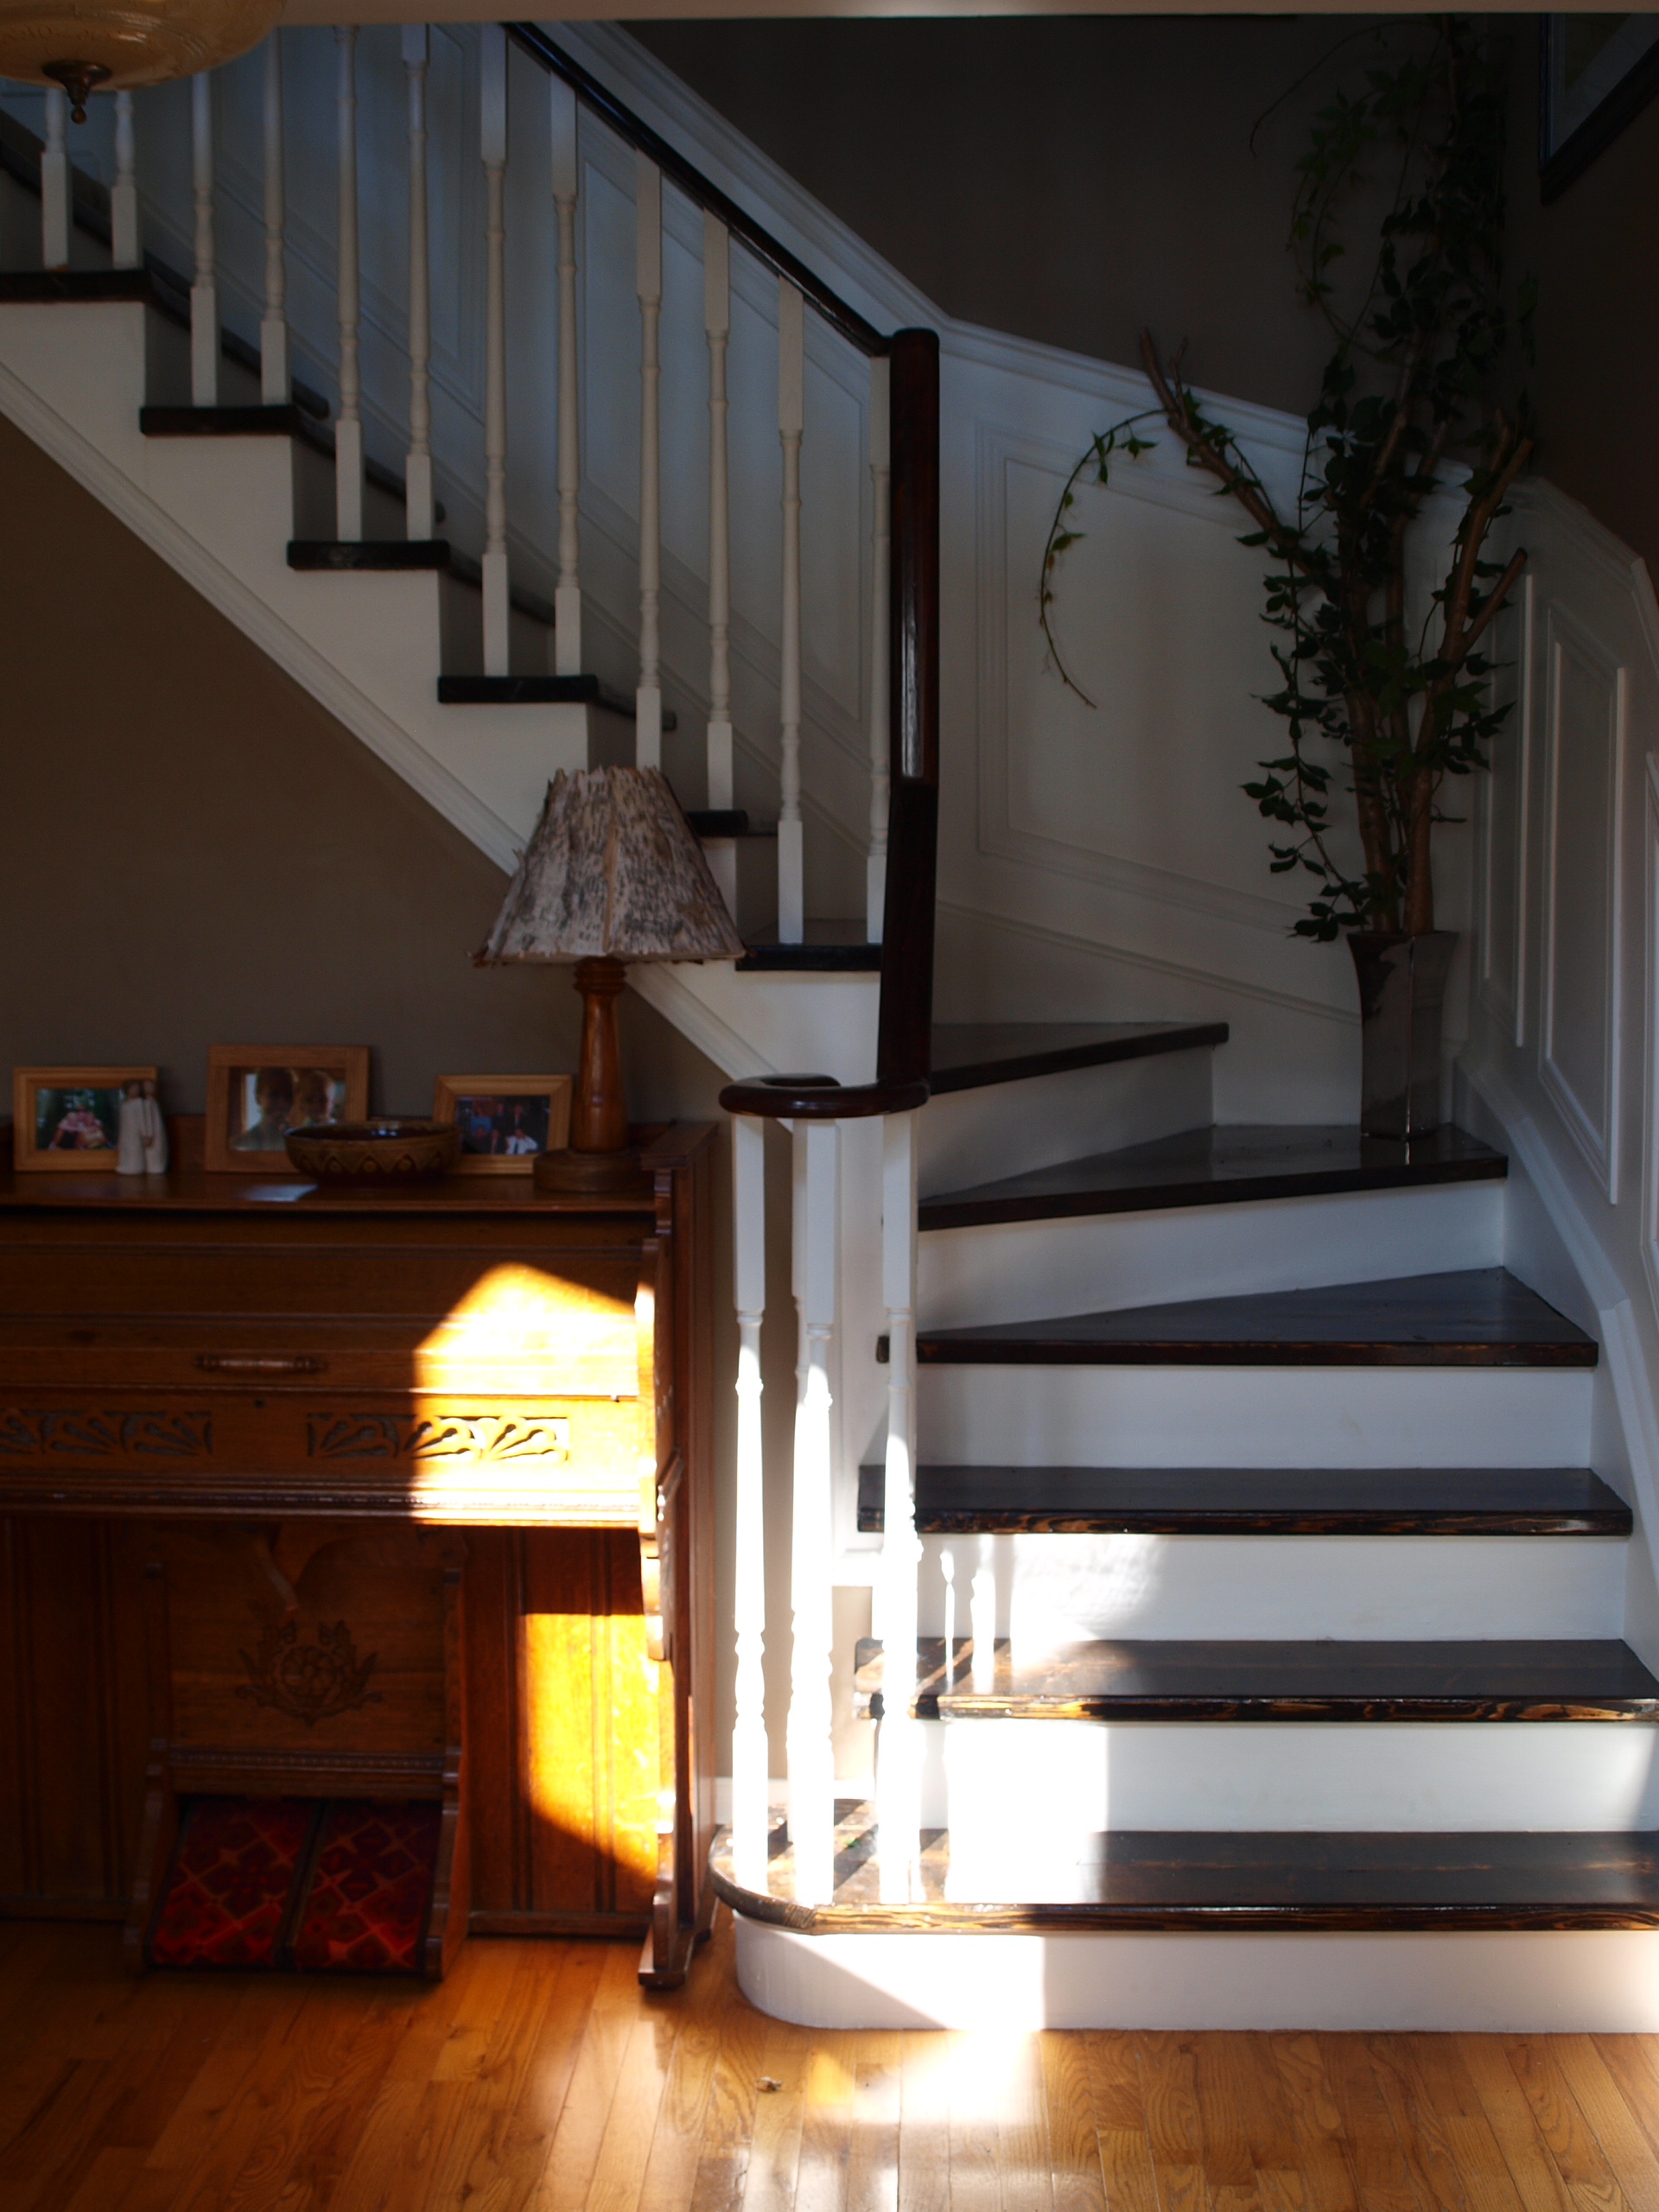
Check out the final product! stairs after 3 stairs after 2 stairs after
OLYMPUS DIGITAL CAMERA

OLYMPUS DIGITAL CAMERA

Archives

  • February 2025
  • January 2019
  • December 2018
  • November 2017

Calendar

May 2026
M T W T F S S
 123
45678910
11121314151617
18192021222324
25262728293031
« Feb    

Categories

  • ABOUT
  • DIY Projects
  • Home Renovations
  • Interior Decorating
  • Videos

Copyright KDA Designs 2026 | Theme by ThemeinProgress | Proudly powered by WordPress