DIY – Stairs Renovation
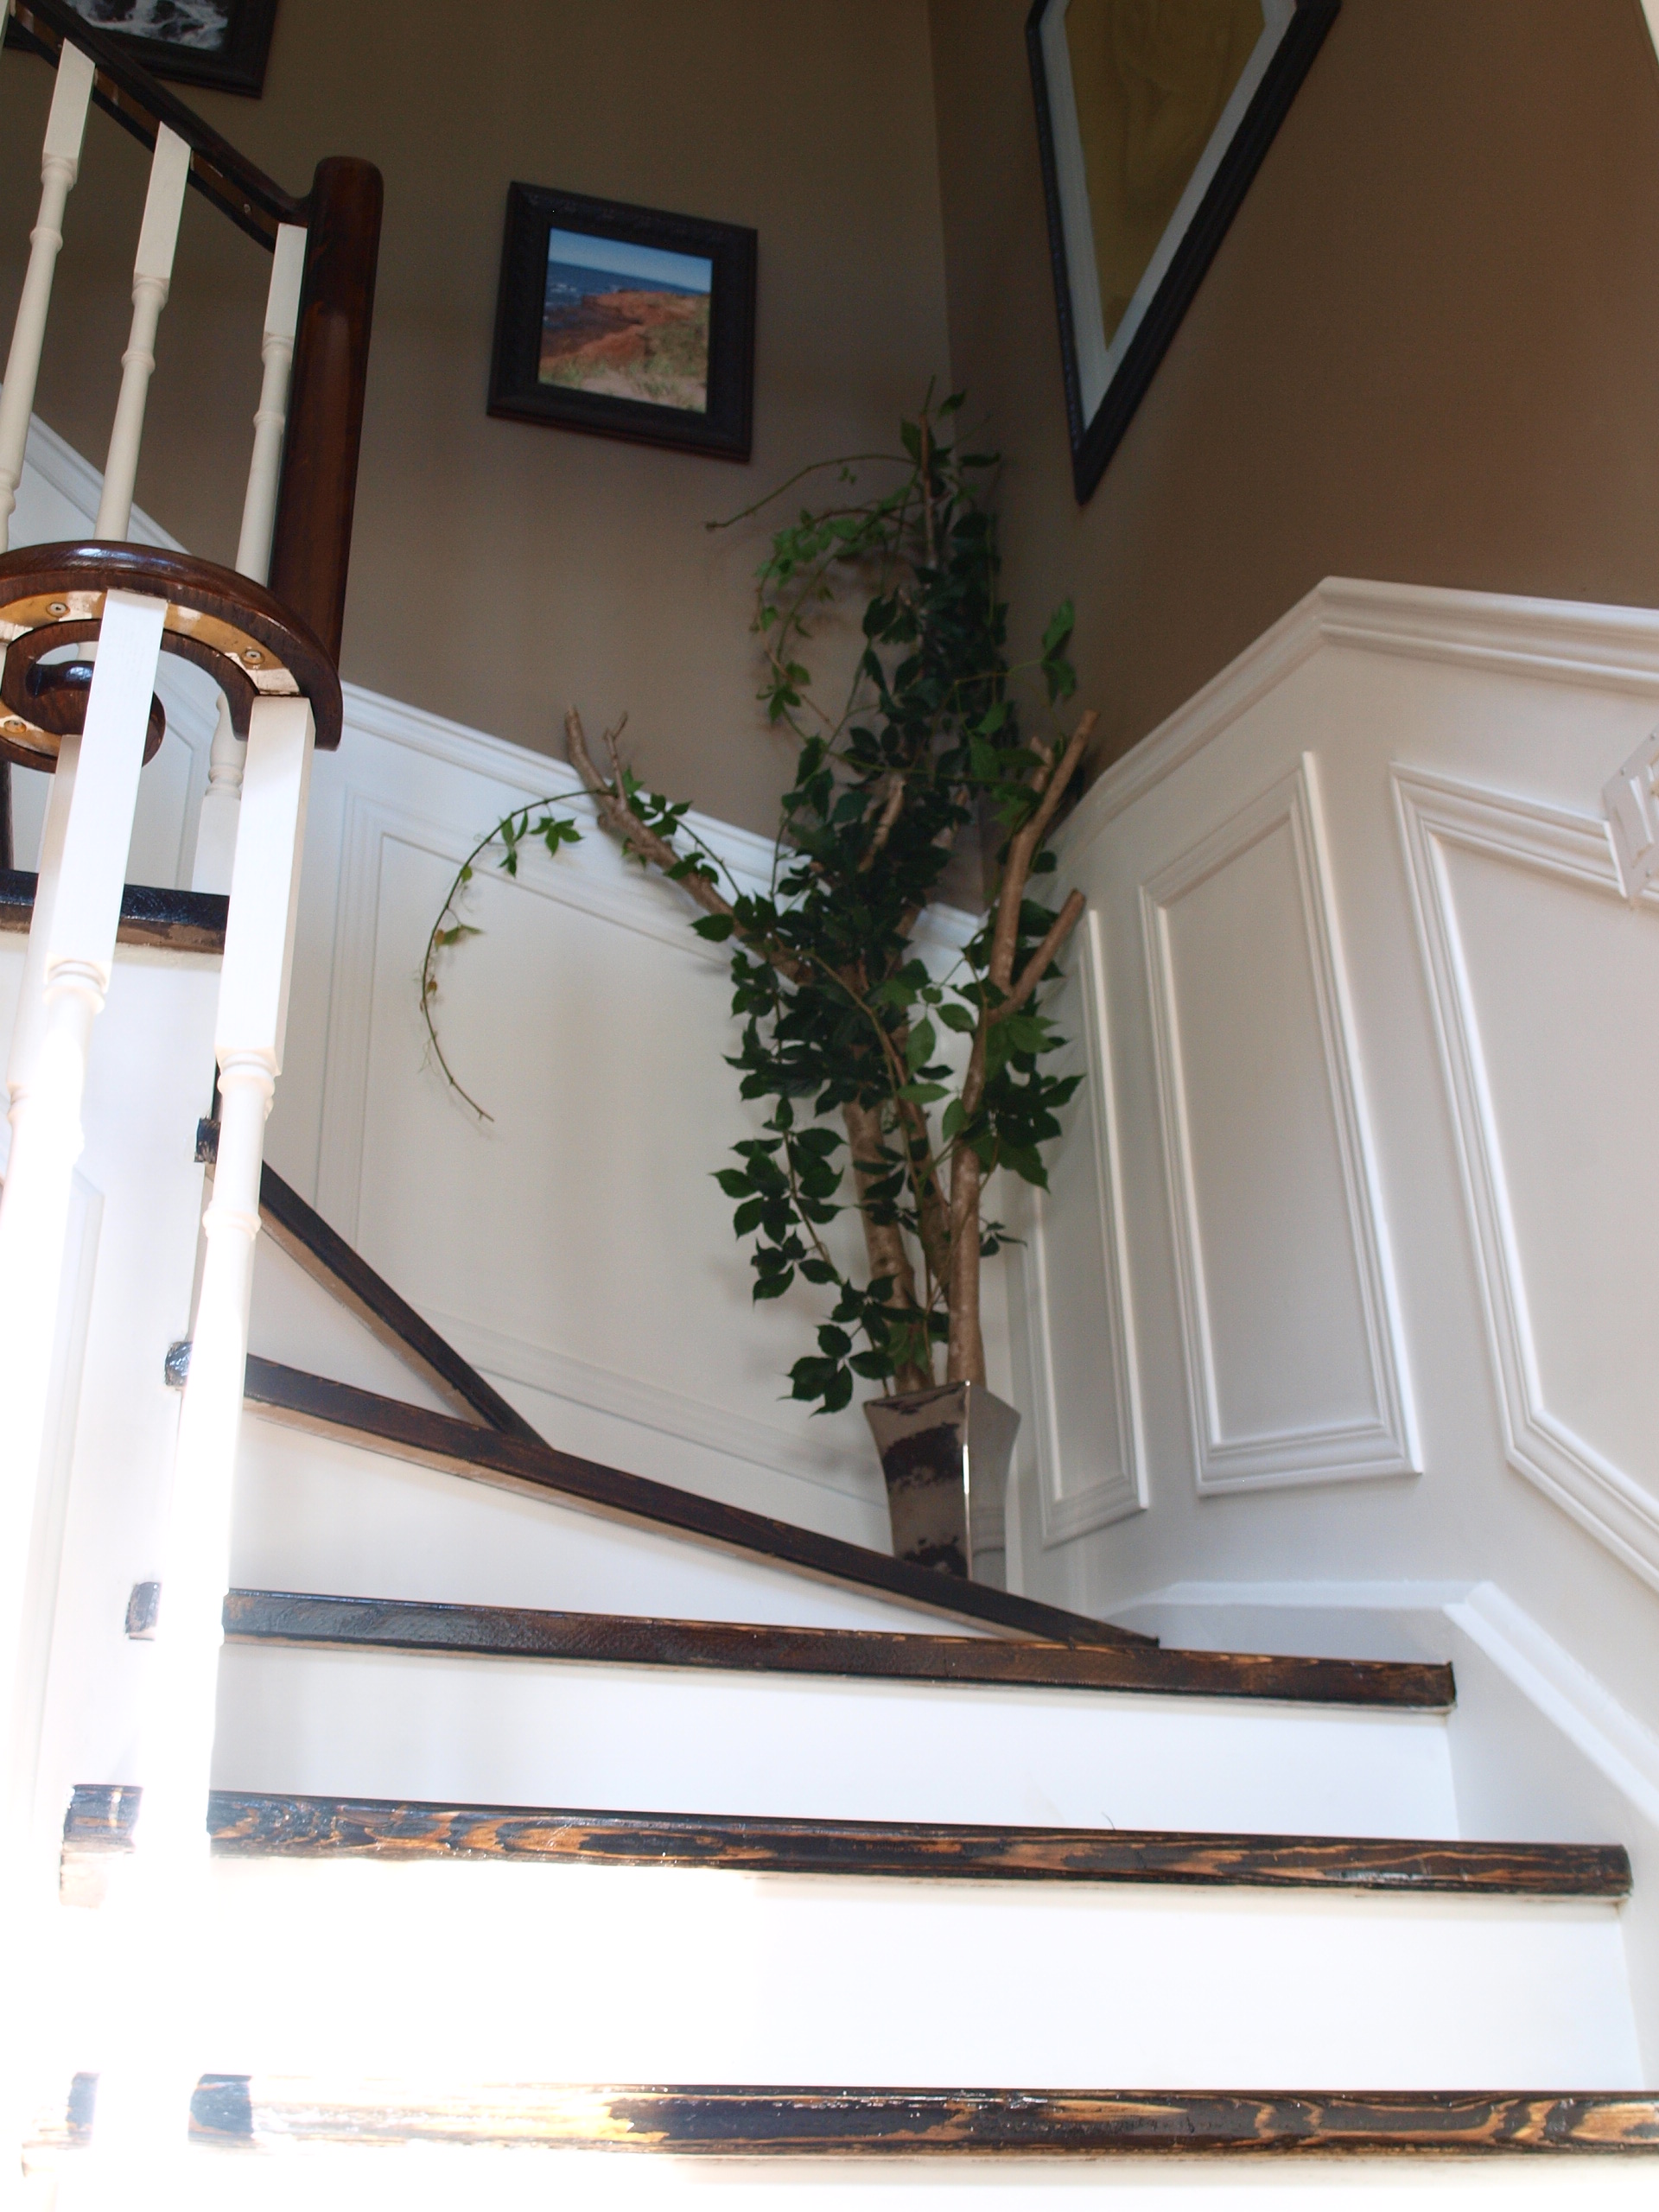
On 2019-01-02 by AdminMy stairs had a lot of potential. There was an existing chair rail going all the way up the stairs with a patterned 3D wallpaper on the bottom half of the wall. One day, I got a little crazy and decided to rip it off. I found a lovely hunter green behind the wallpaper from the previous owners. My thought was that with the height of the stairwell, it would look amazing with wainscotting all the way up!


I sanded down that hunter green and primed it before adding my wainscotting. I wish I had video of me making these cuts. It was literally a full weekend of cutting trim, adjusting, then nailing to the wall…lots of trial and error.

Once I was satisfied, I used wood filler to fill any spaces in the corners of the wainscotting. I then allowed it to dry, sanded it down, and followed up with a semi – gloss white. I absolutely love it!


The next step to finishing my stairs was refinishing my stairs. I was lucky as I did not need to replace the stairs. I removed all the carpet and was faced with a massive project. There were paint splatters, dents, grooves, and lots of dirt on the steps.
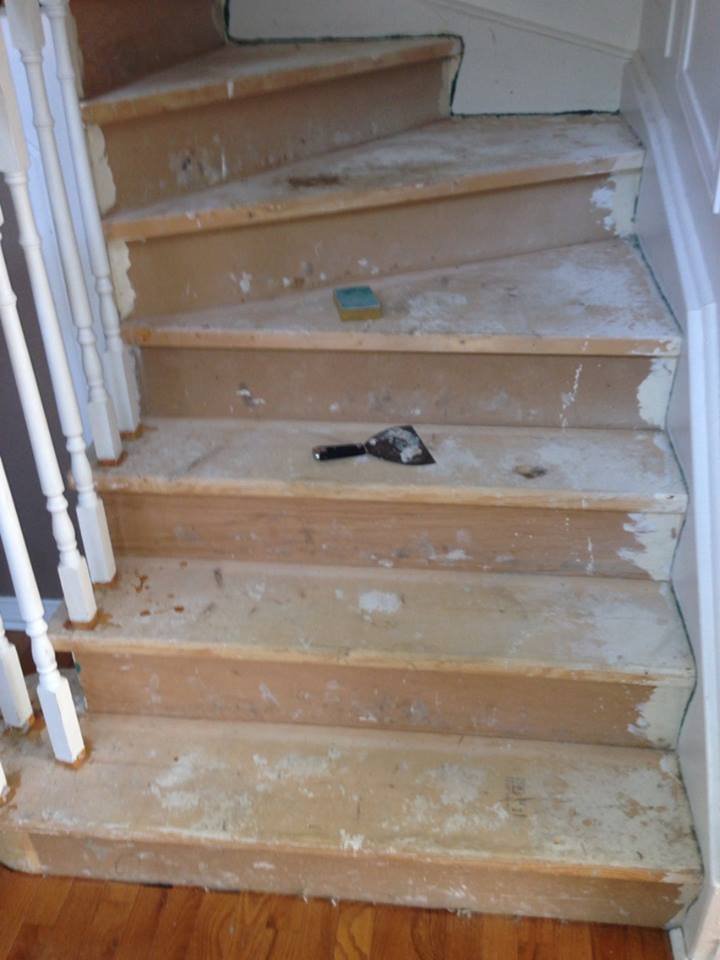
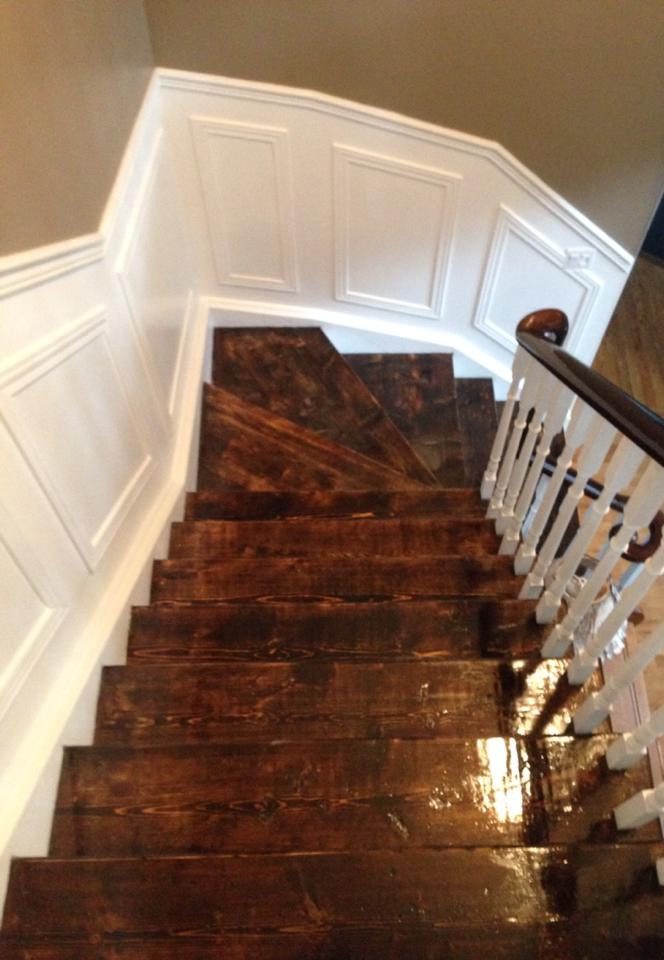
I scraped, sanded, washed, allowed to dry, then sanded over and over again. Once I was comfortable with the wood, I stained it using my favourite stain, ‘Minwax – Dark Walnut’ and allowed it to dry overnight. Those grooves that were exposed actually gave the wood some character. When I was satisfied with the stain, I did about 5 layers of varnish on each step. The process was; varnish, overnight dry, sand. Repeat this 5 times. All in all, this was not a quick project but boy, did it every change my stairwell.
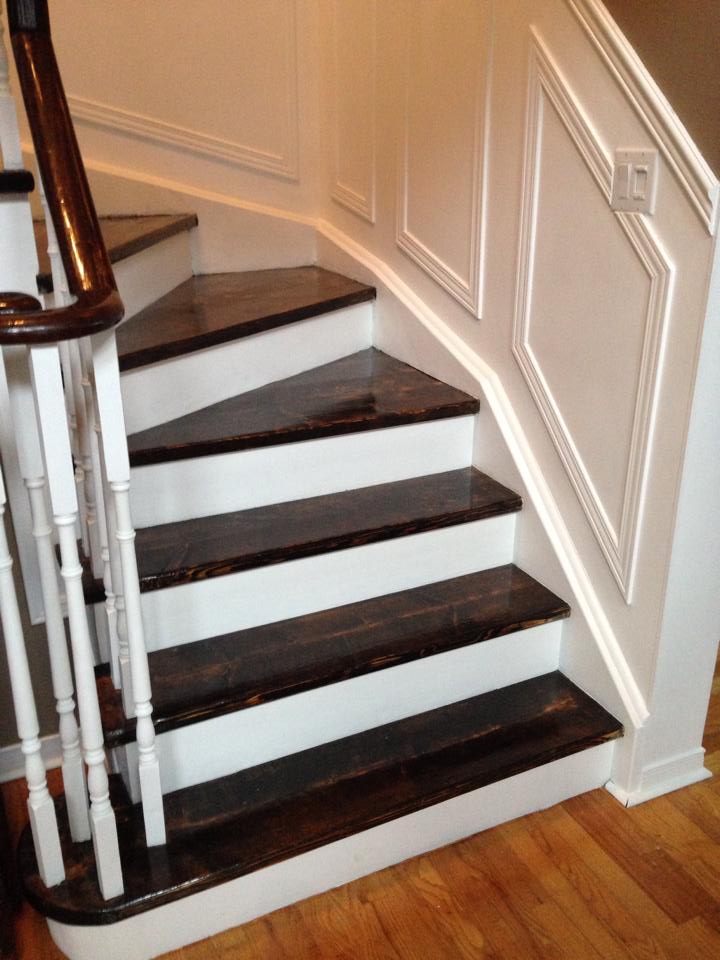
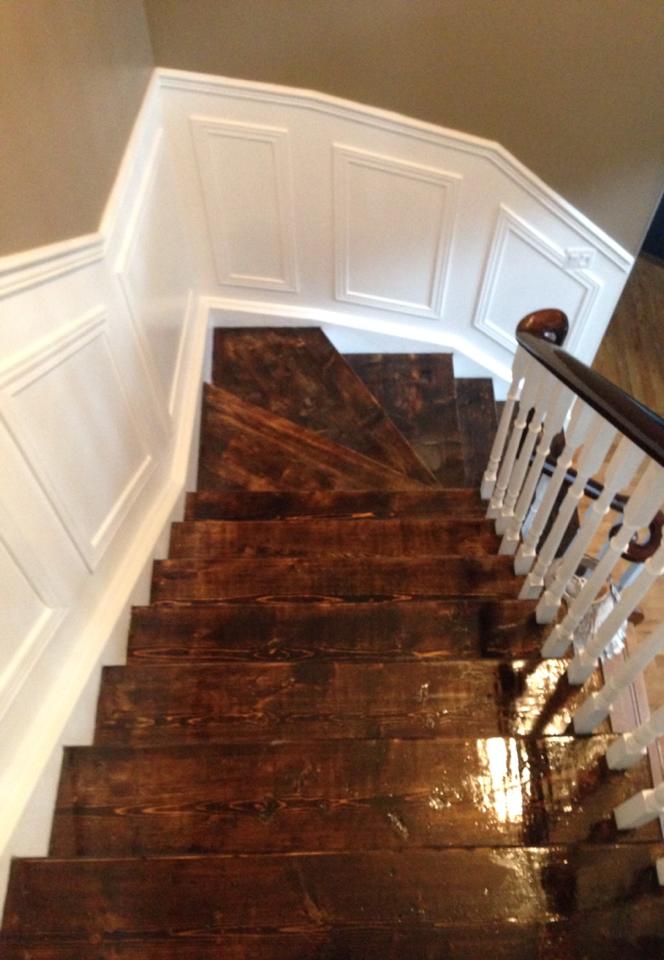
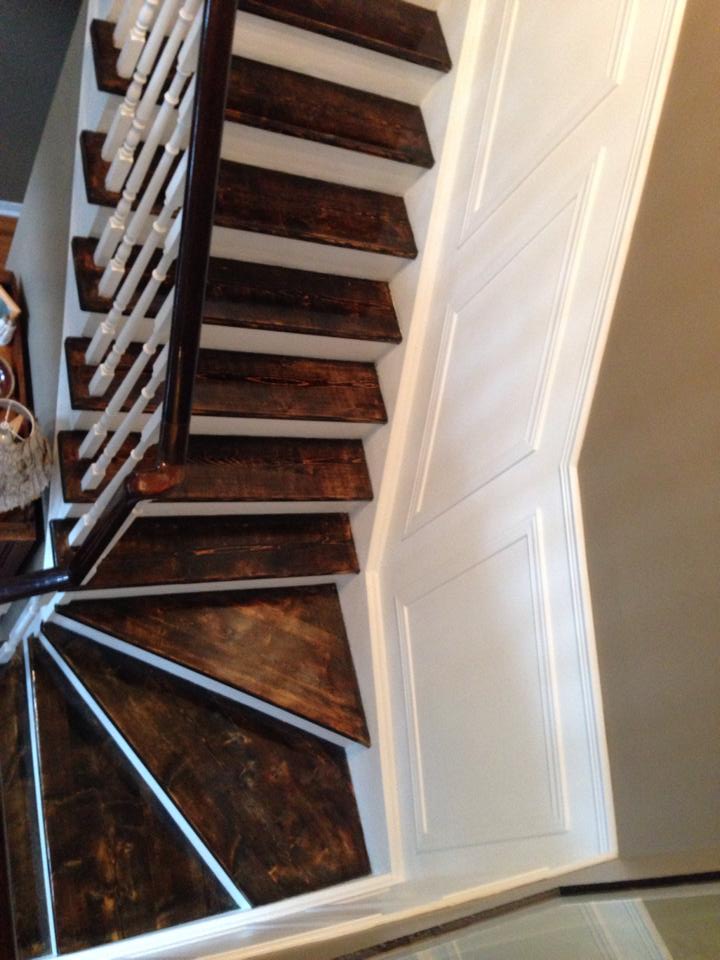
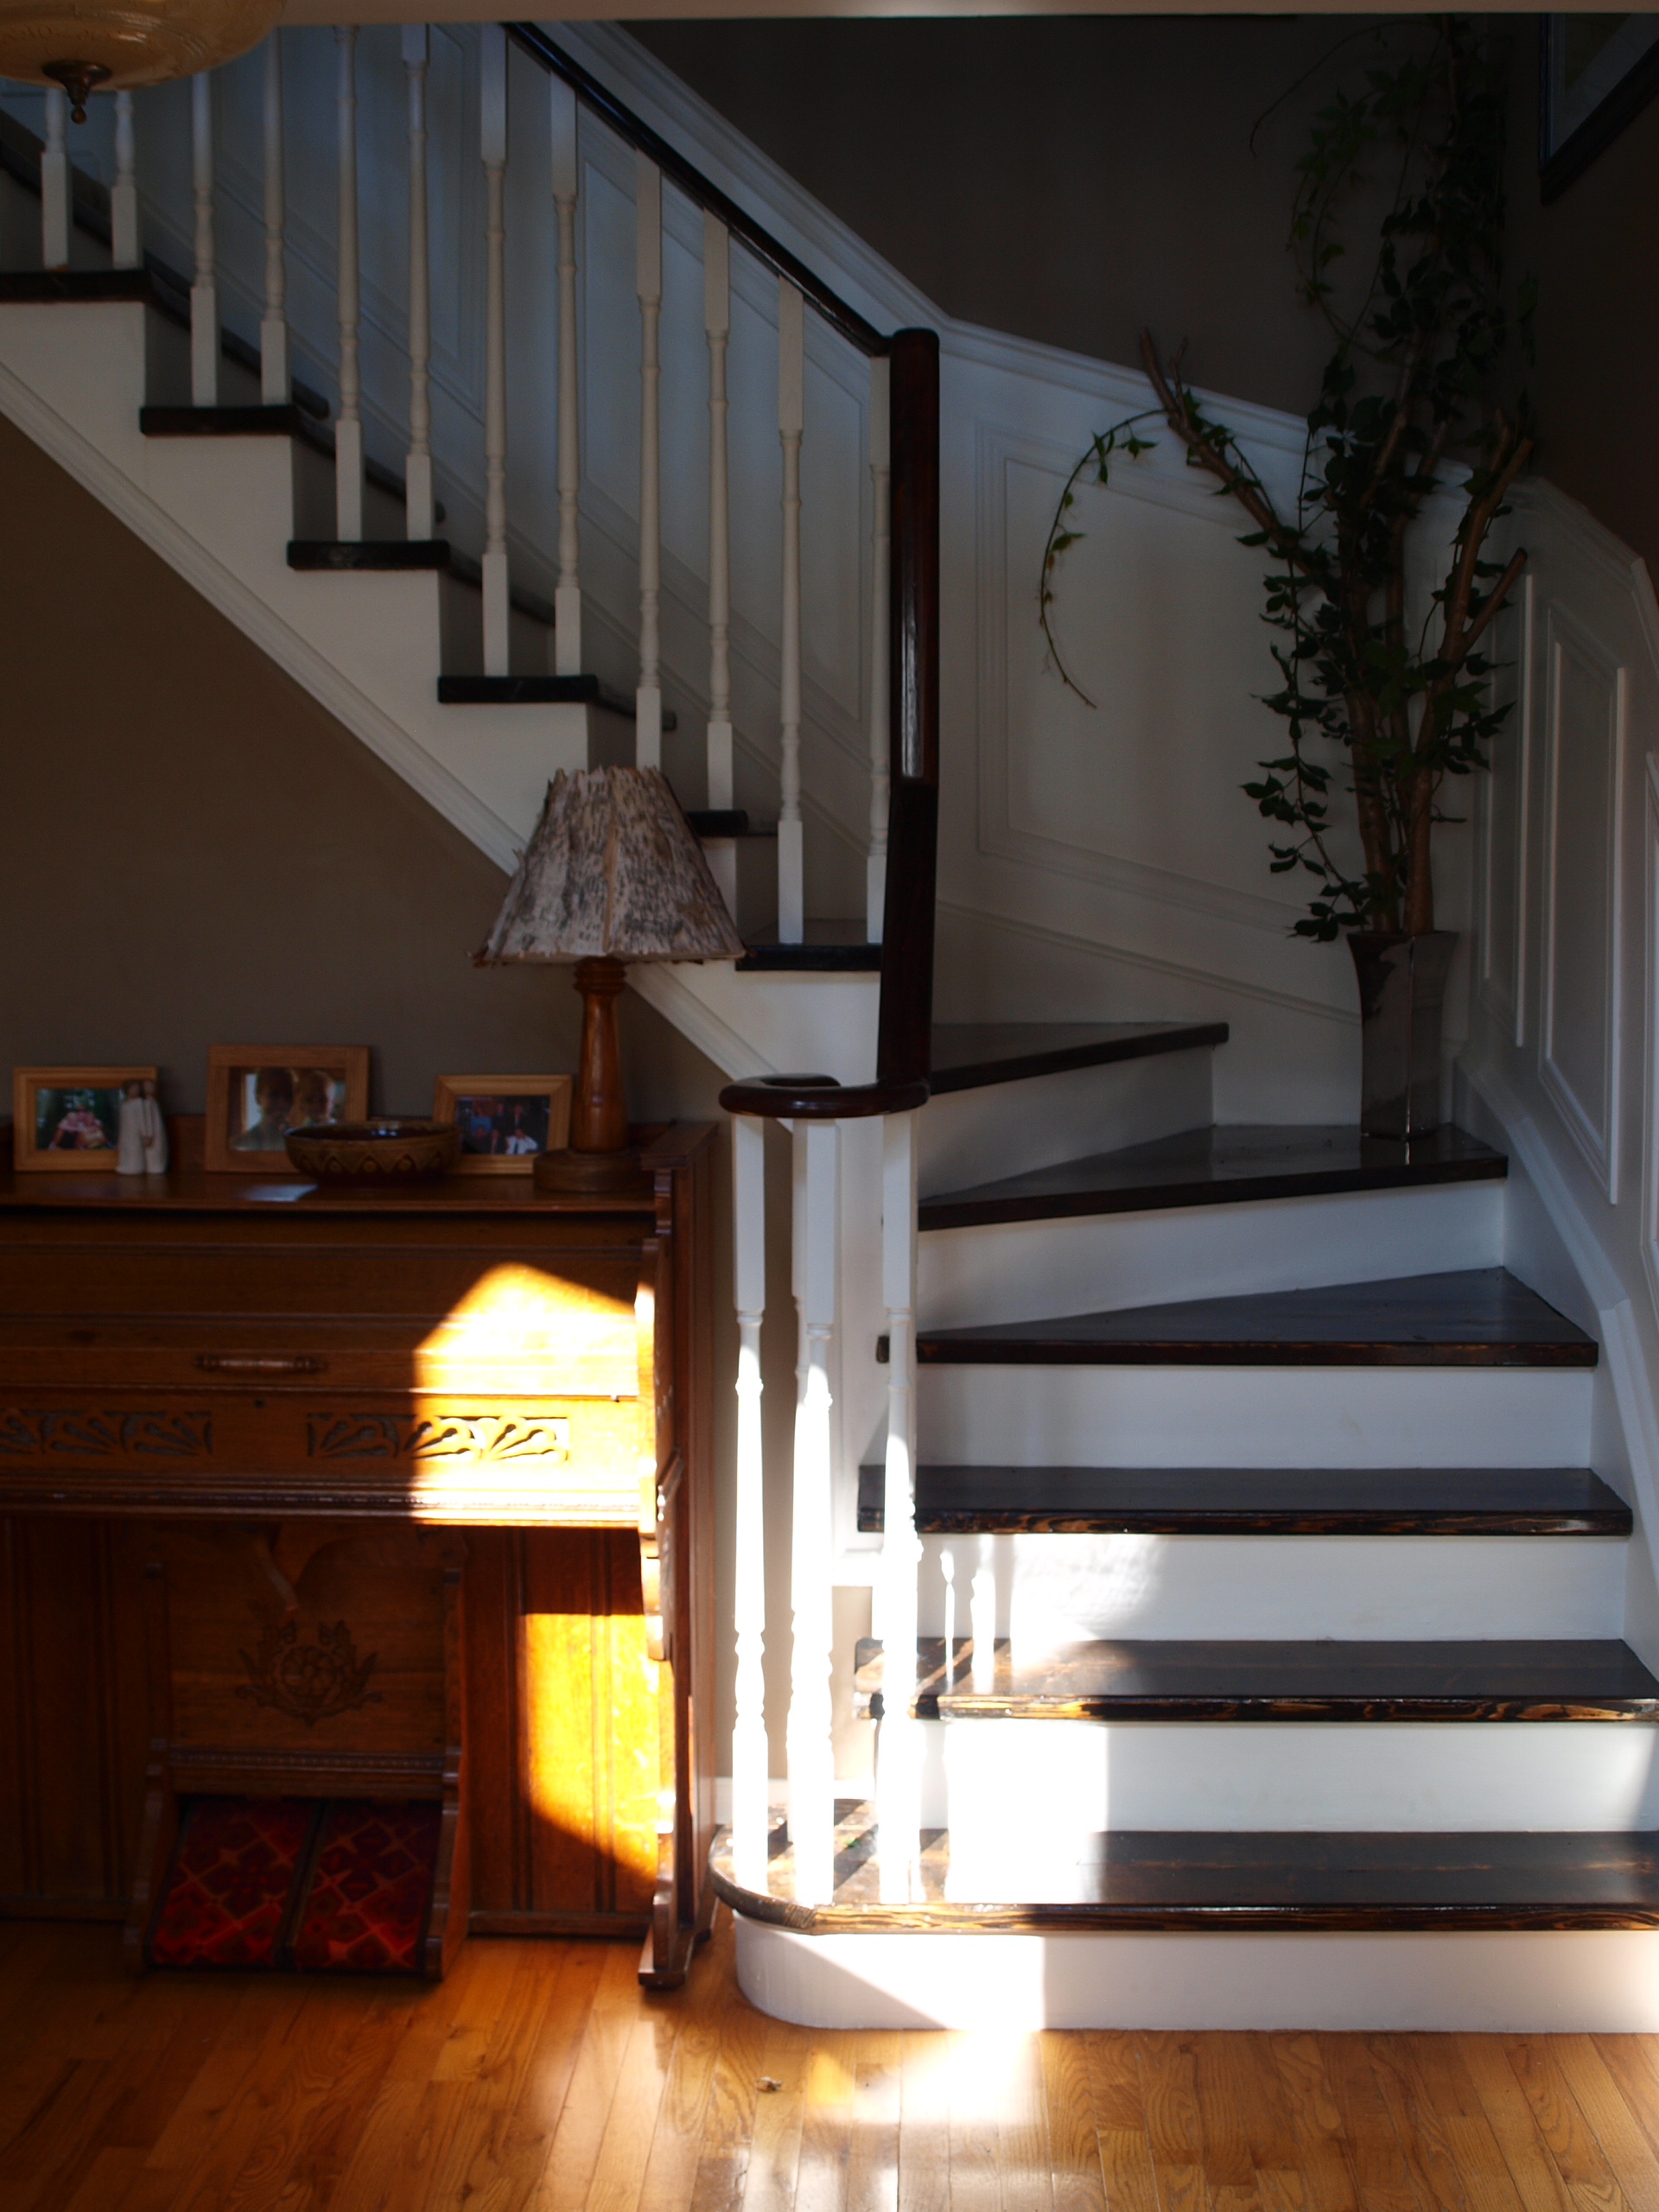
Check out the final product!