Powder Room Renovation
On 2018-12-31 by AdminOne of the first things I wanted to do when I purchased my home was renovate the powder room. There is no other way to describe this than hideous. (sorry previous owner) The countertop was baby pink, the walls were olive green, the floors were a grey ceramic tile, and there were gold accents everywhere


See? No words describe the hideousness…
I started off by removing the toilet and the vanity. The vanity was salvagable and i decided to paint it with a black melamine before I removed it. (This involved sanding it down, removing the knobs, and using a light roller to paint on the melamine.)

I then removed the floors…yes, I should be wearing safety boots! At least i have the safety glasses to avoid chars of ceramic going in my eyes
 I also had to fix some of the plumbing as one of the seals was broken
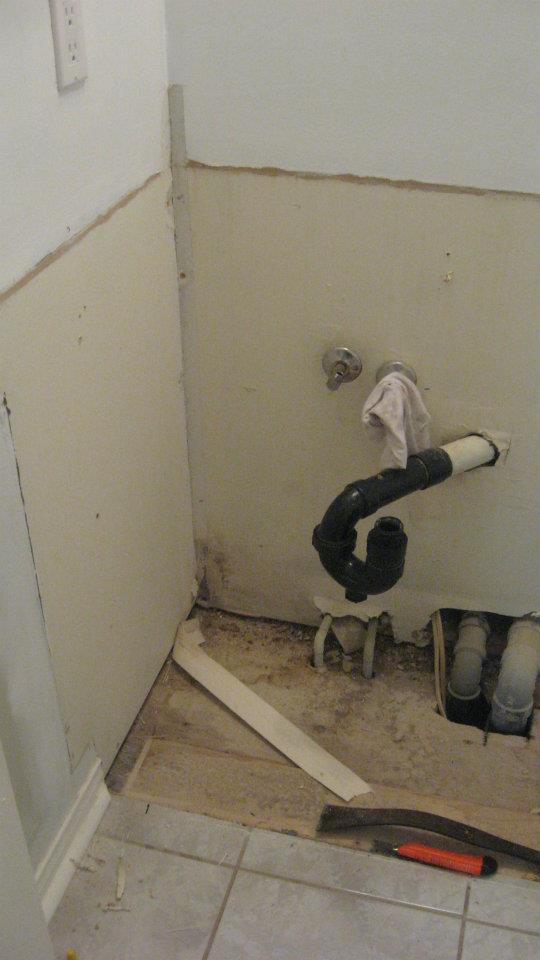 While I had the vanity out, i sanded down the walls where the countertop had met the walls. There tends to be a buildup in paint in spots like this. I then primed the walls.
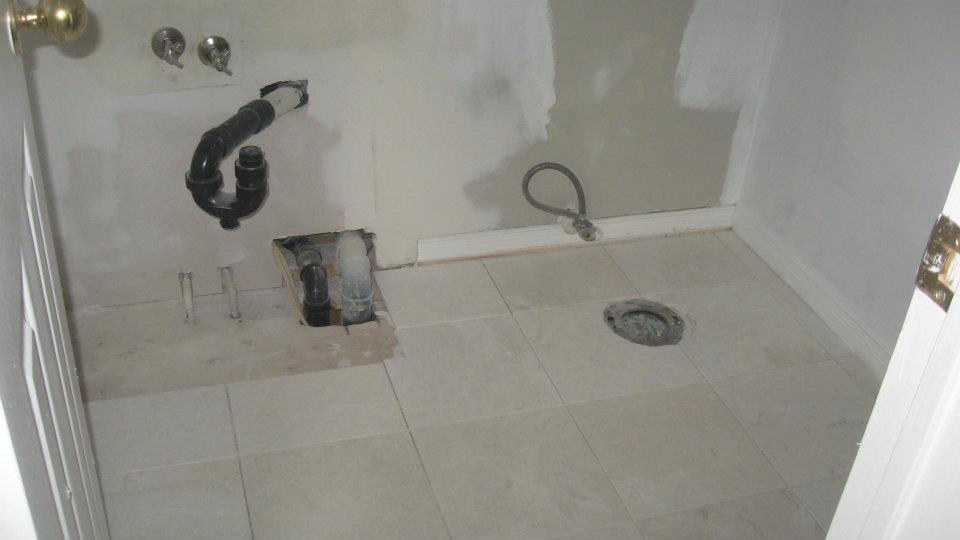 I installed a light marble floor before putting the toilet and vanity back. I also removed the gold toilet paper holder that was in the wall. In order to patch the drywall, I secured a 1″x3″ piece of wood inside the hole (2 screws above the hole and 2 screws below the hole) I then cut out a square piece of drywall and secured it using drywall screws to the wood inside the hole. The lines were then covered with tape and plastered over. This type of work takes time so make sure you allow enough time for the plaster to dry, sand, plaster, and repeat. You want to make sure no one can tell there was ever a hole there
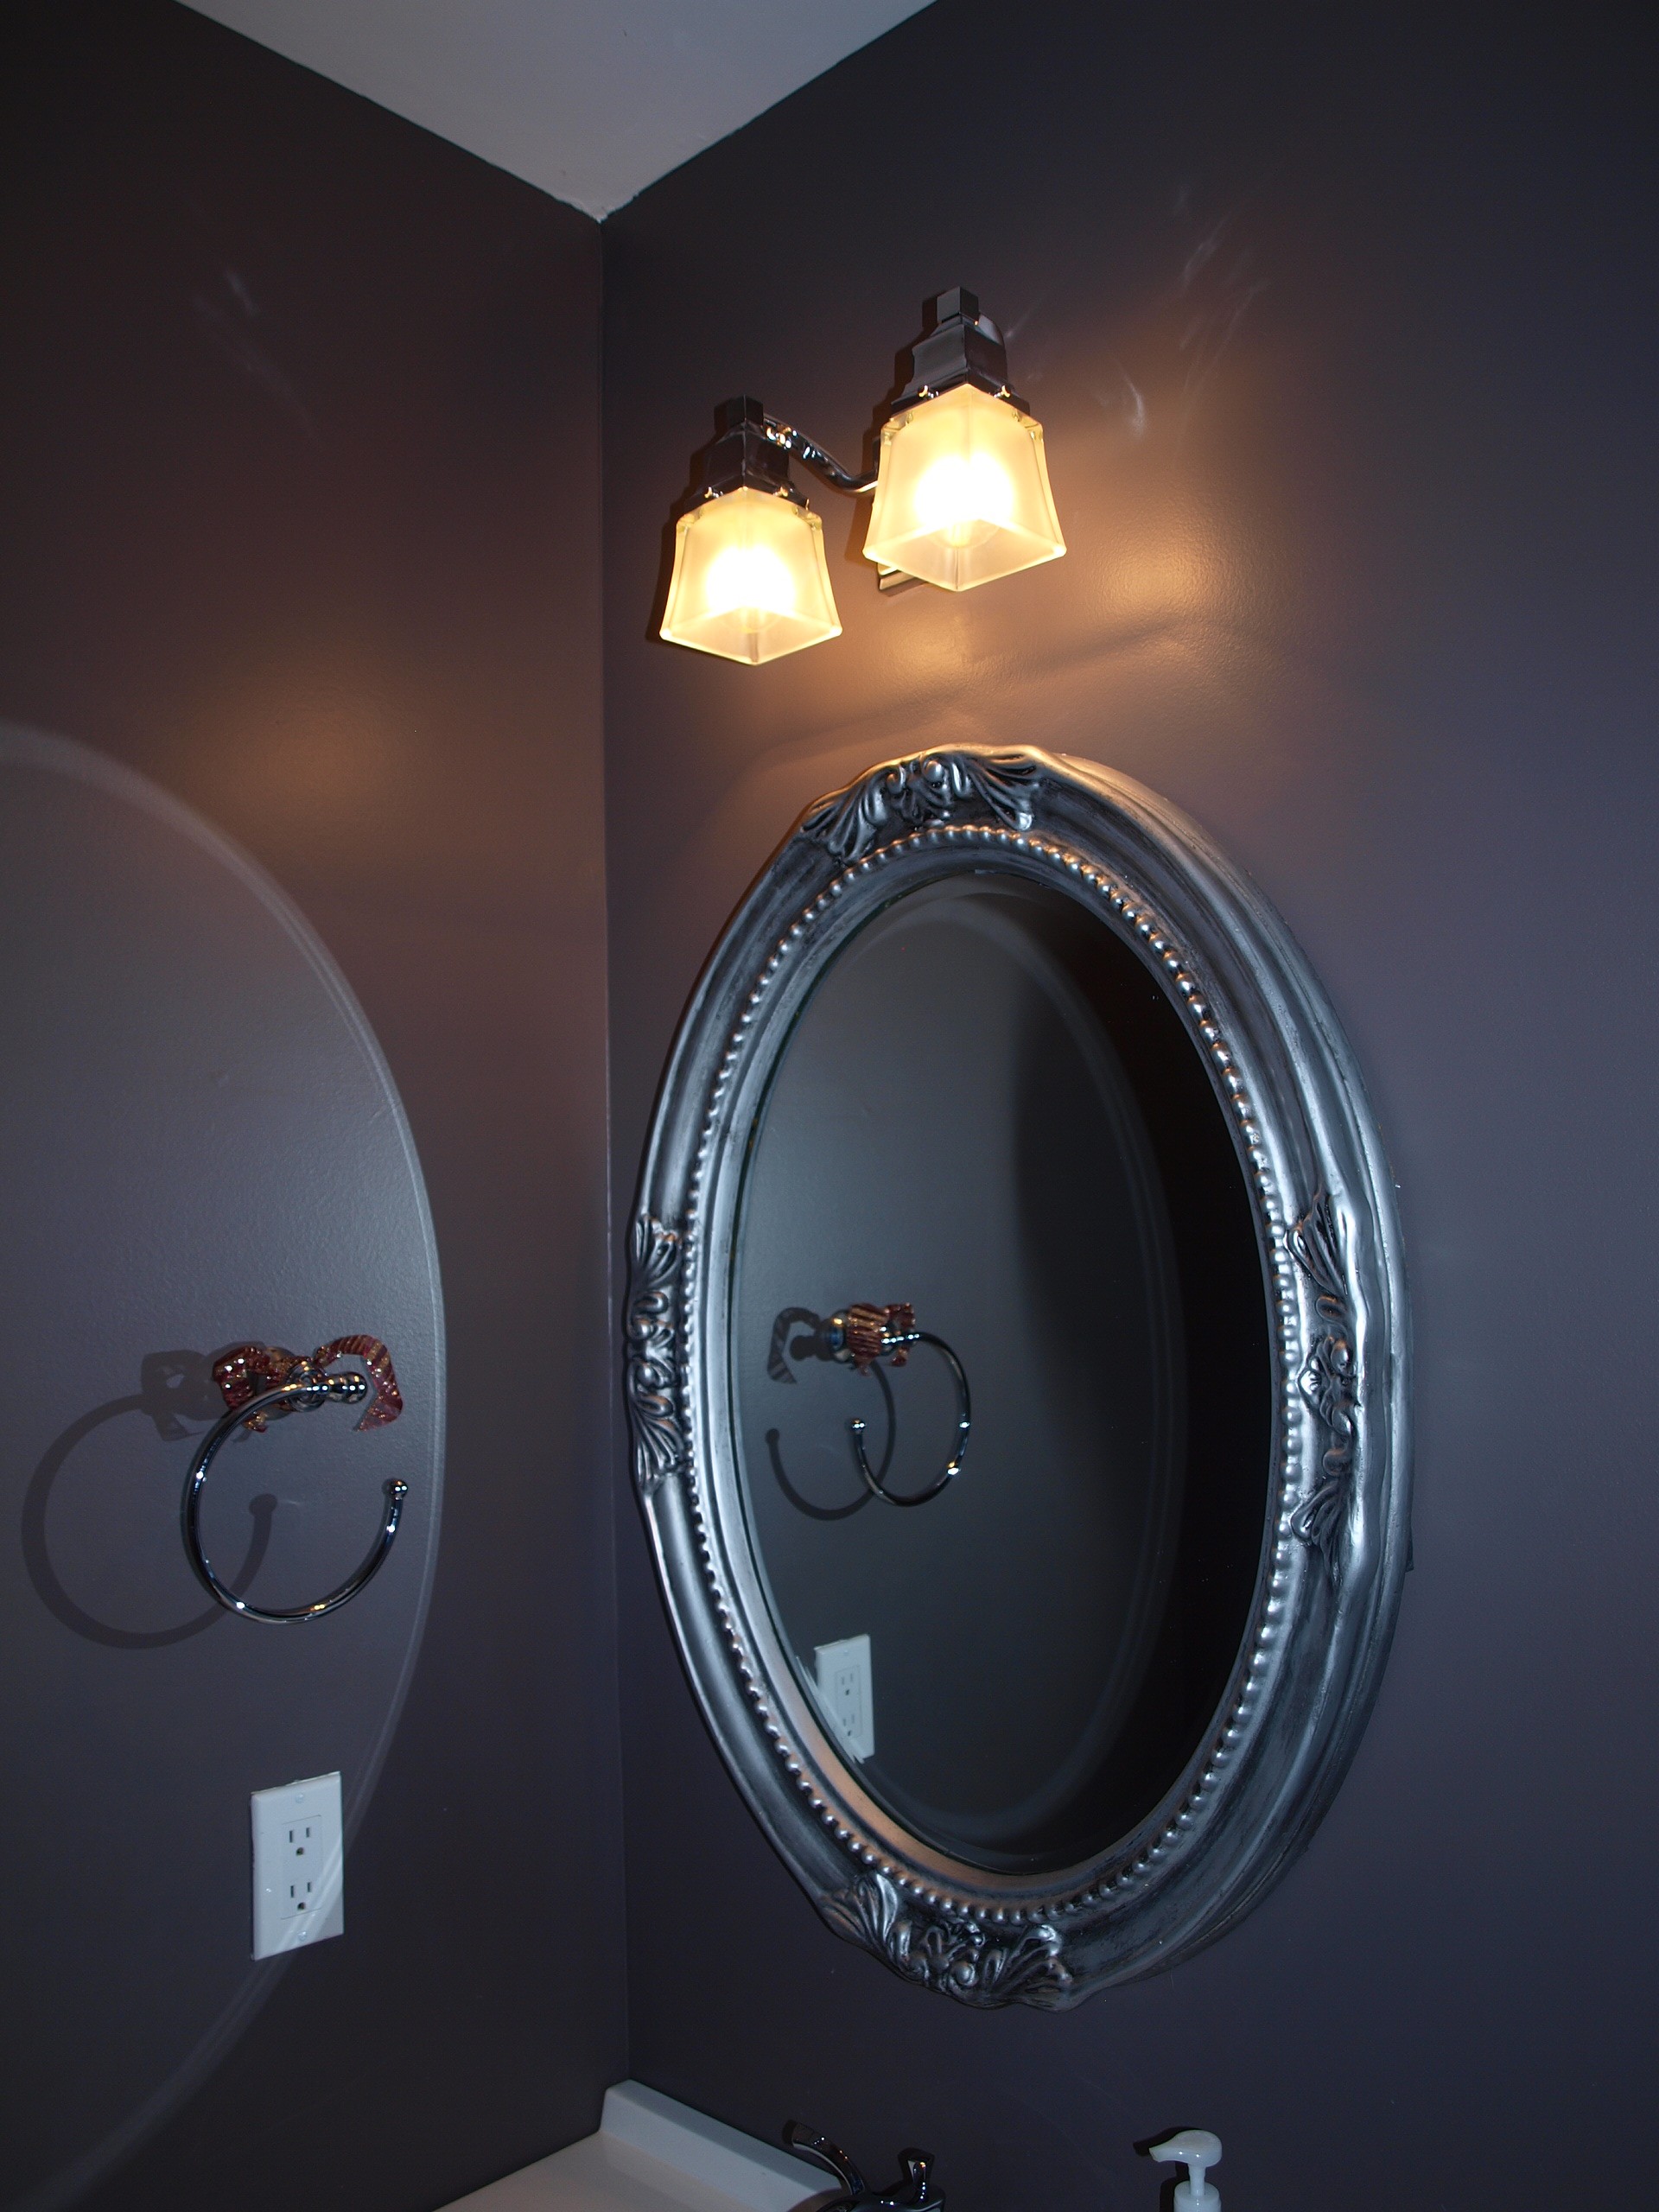
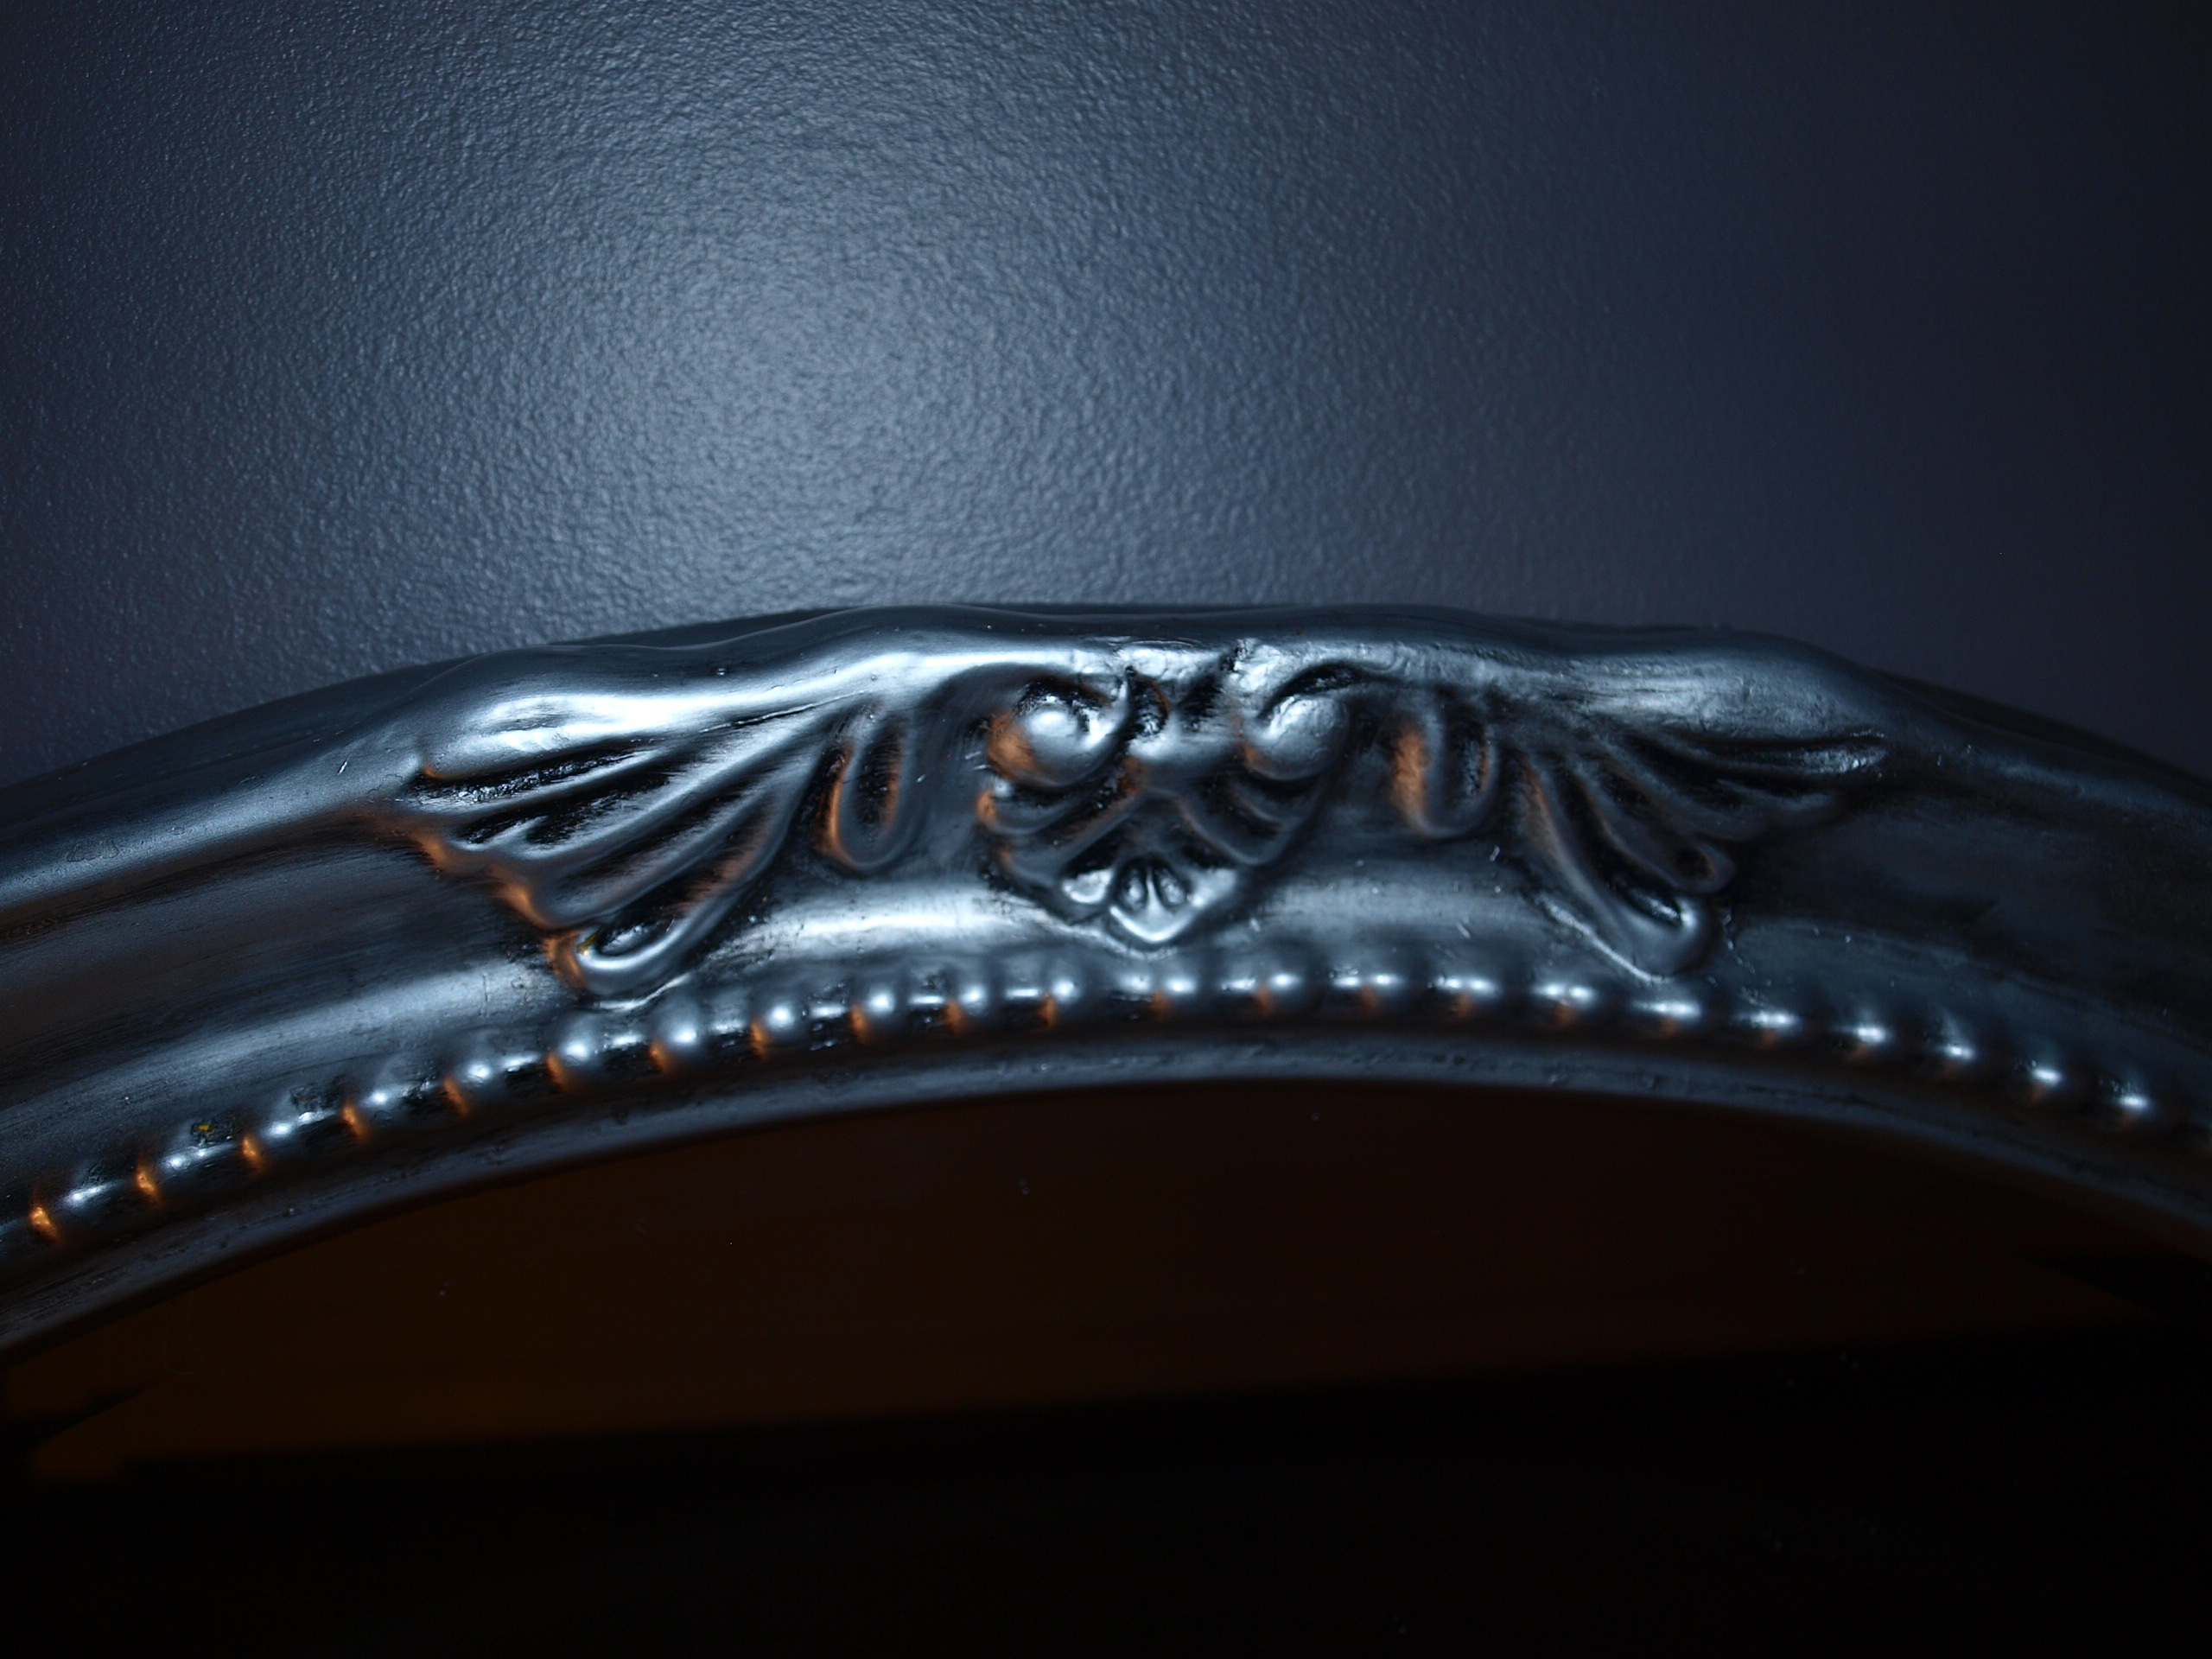
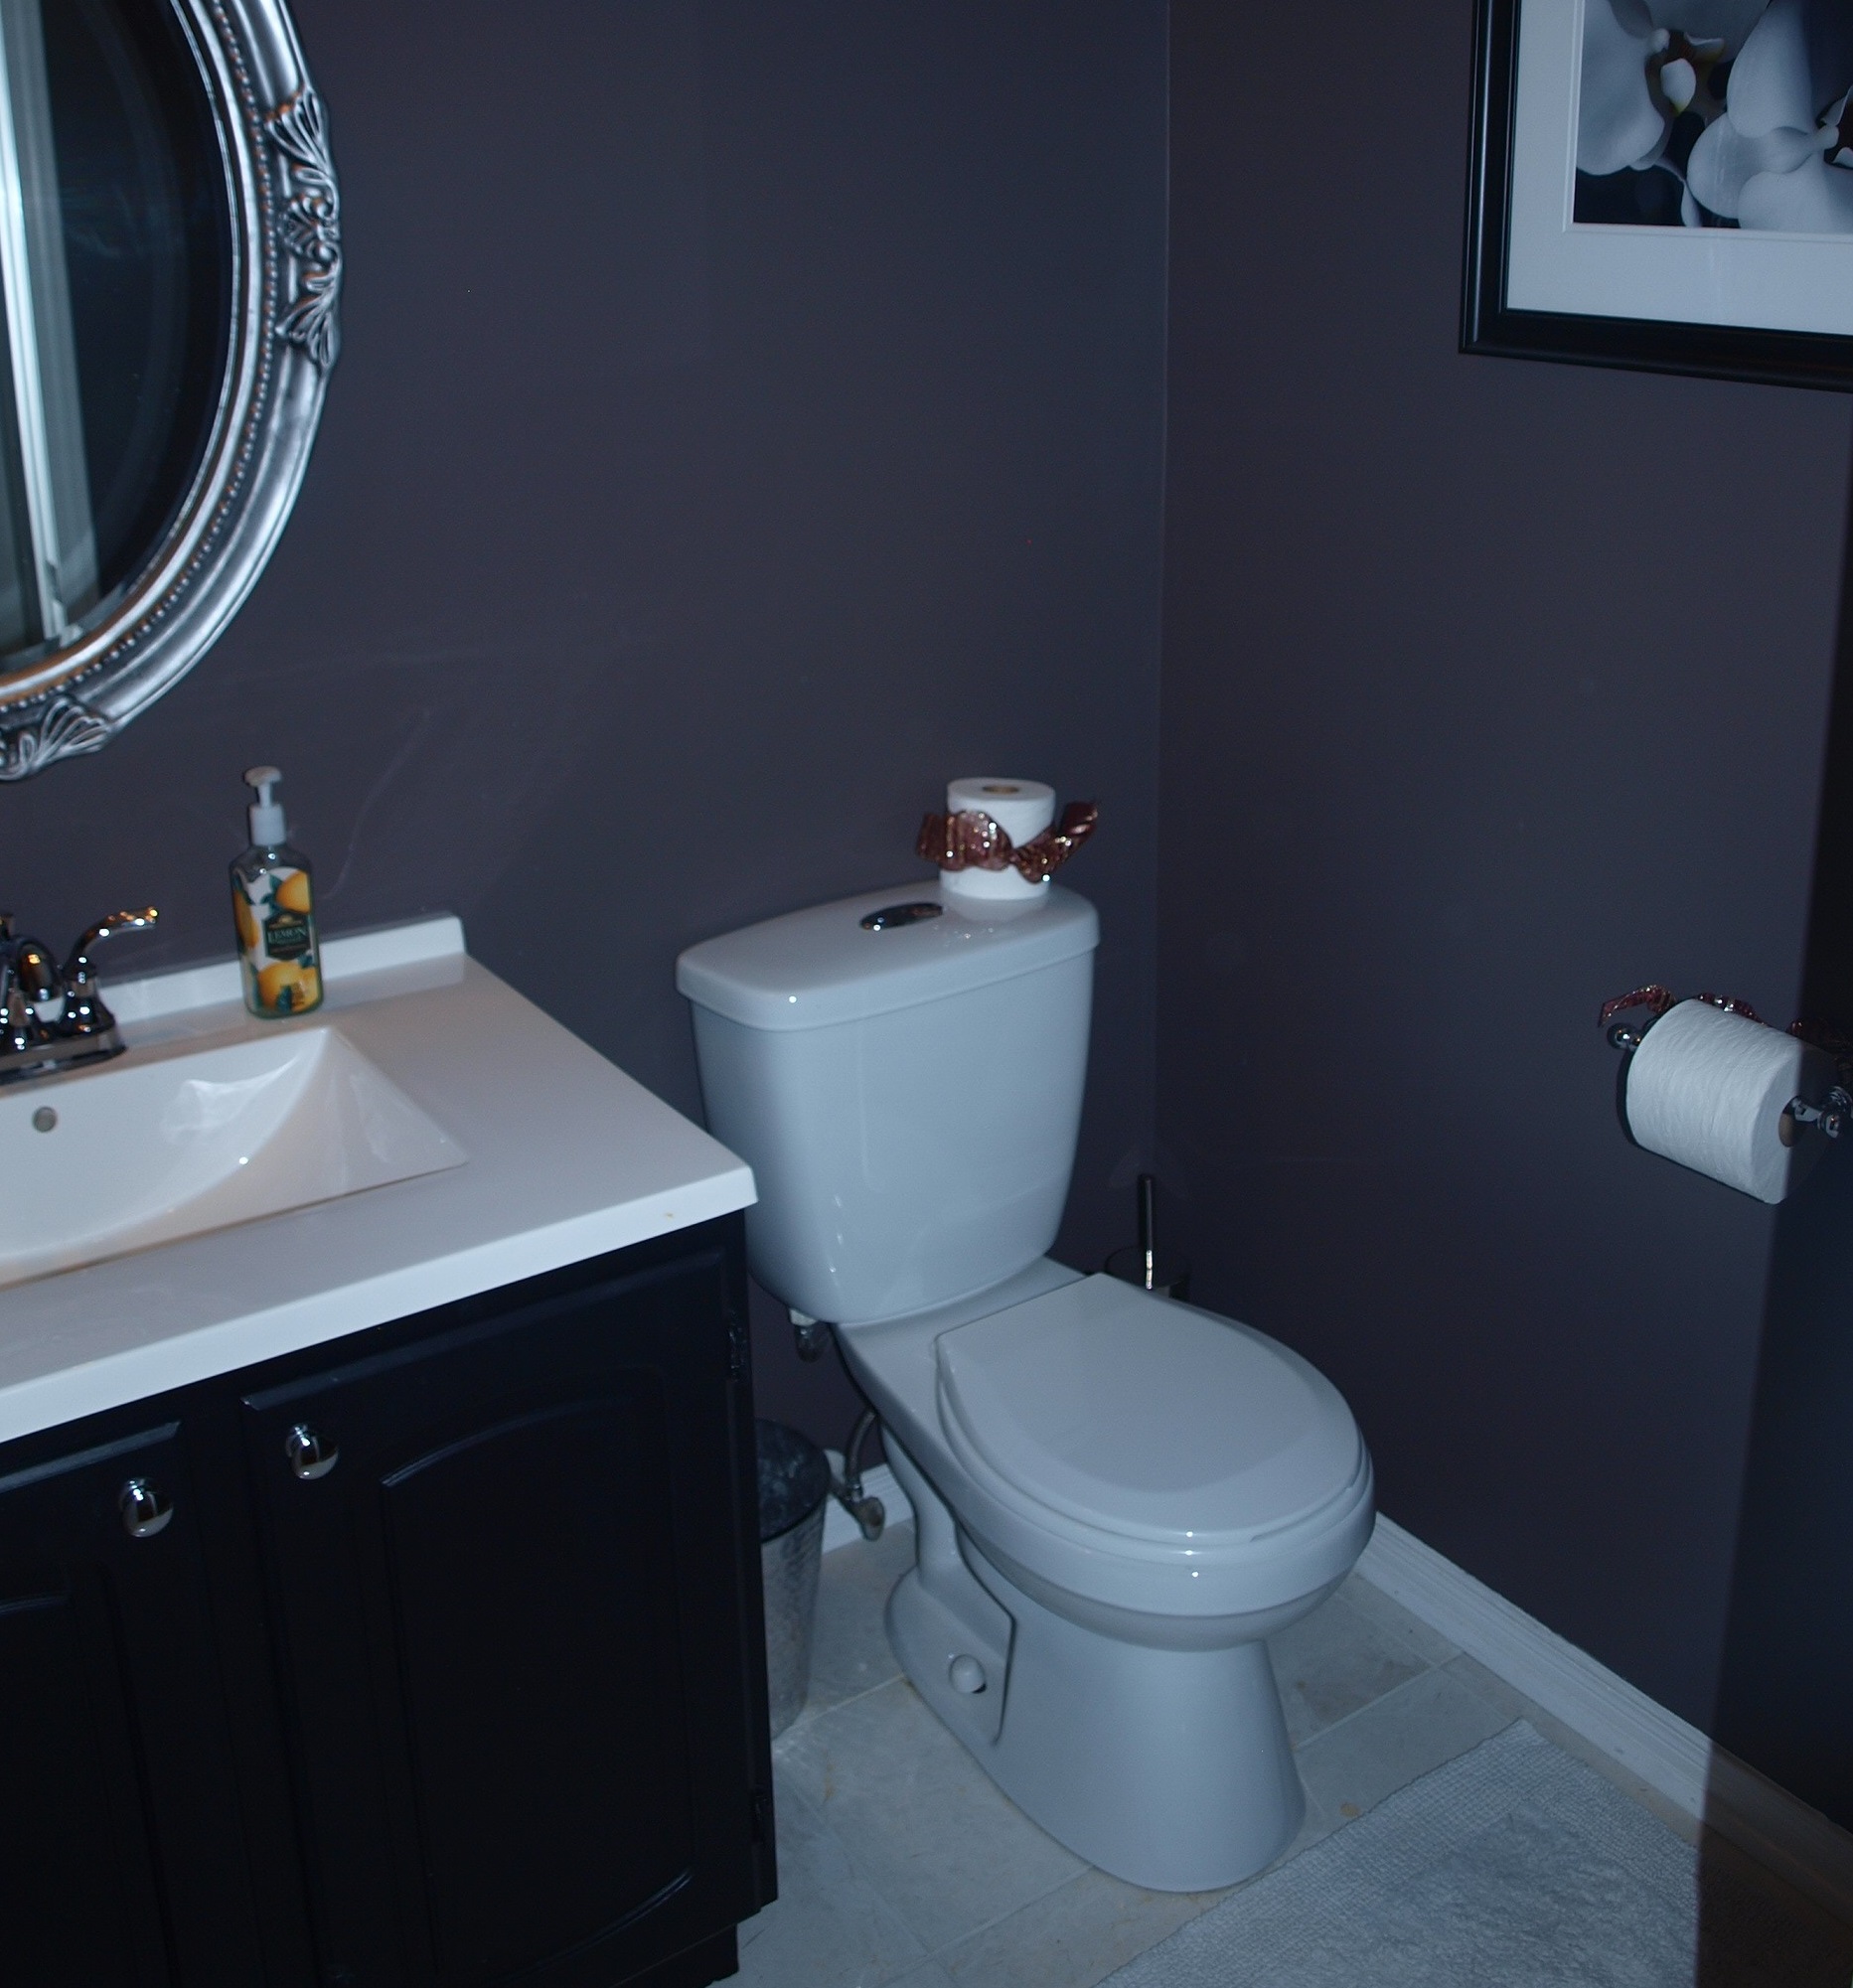
Following the installation of the floor, i finished painting the walls, installed the toilet and the vanity. I purchased a 31″ vanity top from Rona (Luxo Marbe) and placed it on top of the vanity – securing with glue. Once dry, I installed a brand new faucet followed by a new vanity light. I purchased the mirror for about $20 on clearance. It was a bright brass so i taped up the mirror and used a silver spray paint to spray the outside. I then used an acrylic black and painted in the crevaces. Using a rag, I ran it along the top of the frame to remove the black so that the black would only show through in the crevaces
After adding an accent piece of photography, the bathroom was done…and what a difference!